What is quickstart
What is Quickstart ?
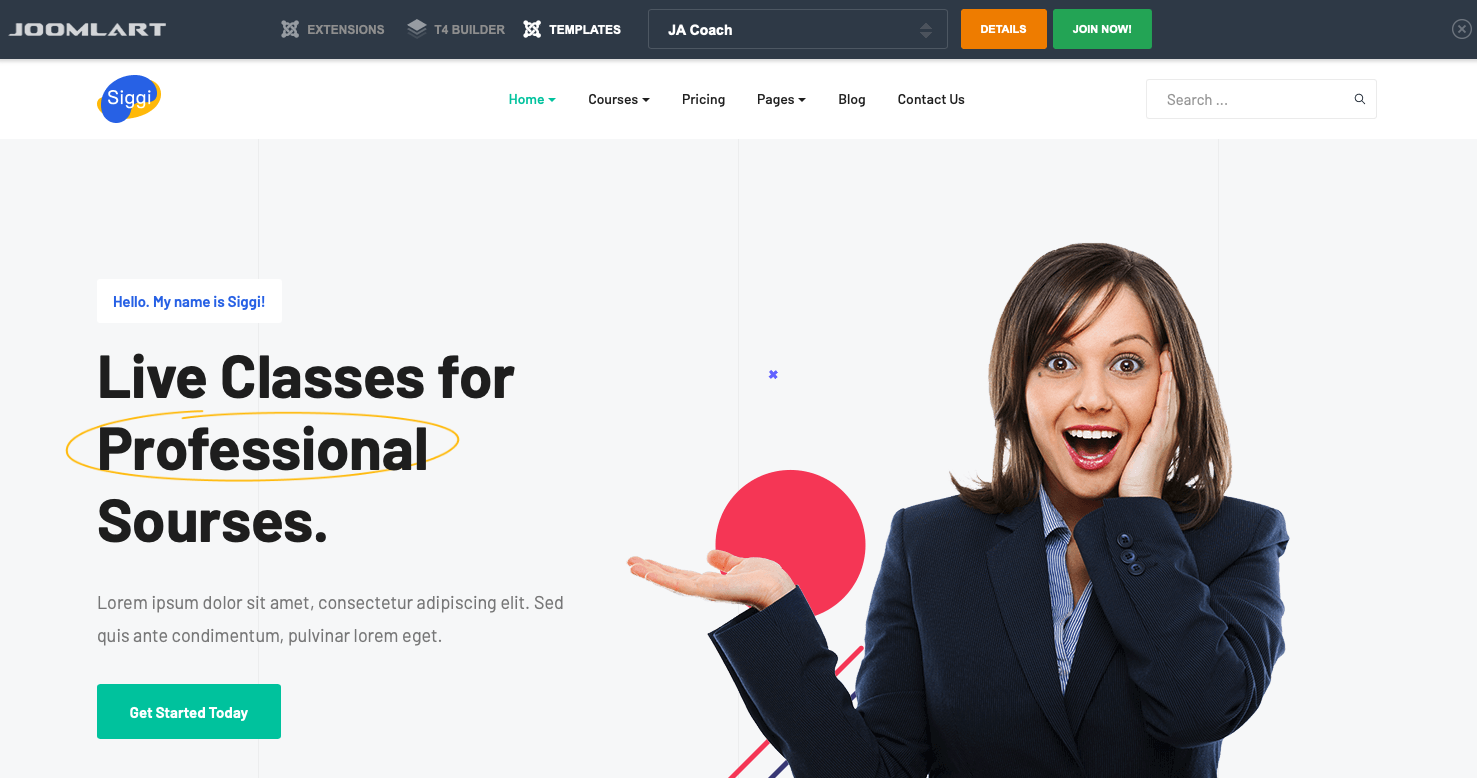
Quickstart package is a full website package that includes: templates, extensions, database, images ... and once you install the quickstart successfully, you will have a complete website that is exactly same as our Joomla template demo (in Quickstart, we use blank image due to copyrights).
Download quickstart package:
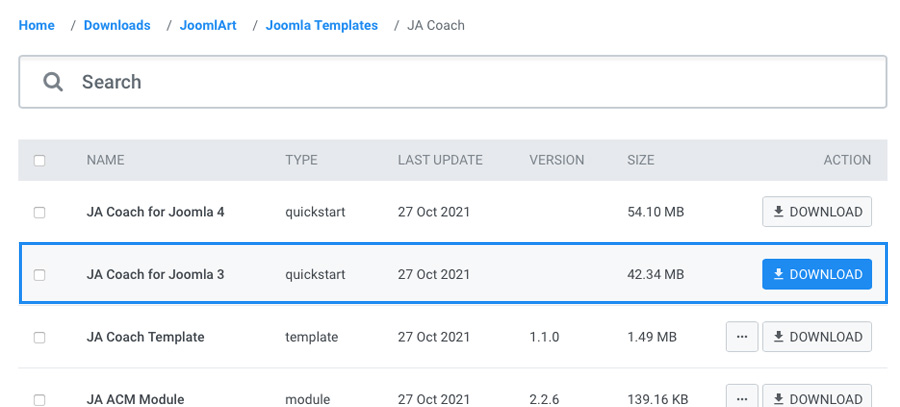
For each template, we provide multiple Quickstart packages based on its Joomla versions compatibility. If a template is compatible with Joomla 3 and Joomla 4 then each Joomla version will has a quickstart package.
Once you are in the download page of a template, you will see the quickstart packages, select and download the package.
Joomla 3 system requirements
Please make sure your system meets the Joomla 4 system requirements as below:
| Software | Recommended | Minimum | More Info |
|---|---|---|---|
| PHP | 8.0 | 5.3.10 |
(Magic Quotes GPC, MB String Overload = off) (Zlib Compression Support, XML Support, INI Parser Support, JSON Support, MB Language = Default) |
| Supported Databases | |||
| MySQL | 5.5.3 + | 5.1 | (InnoDB support required) |
| SQL Server | 10.50.1600.1 + | 10.50.1600.1 | https://www.microsoft.com/sql |
| PostgreSQL | 9.1 + | 8.3.18 | https://www.postgresql.org/ |
| Supported Web Servers | |||
| Apache | 2.4 + | 2.0 | (with mod_mysql, mod_xml, and mod_zlib) |
| Nginx | 1.8 + | 1.0 | https://www.nginx.com/resources/wiki/ |
| Microsoft IIS | 7 | 7 | https://www.iis.net |
Extract and upload
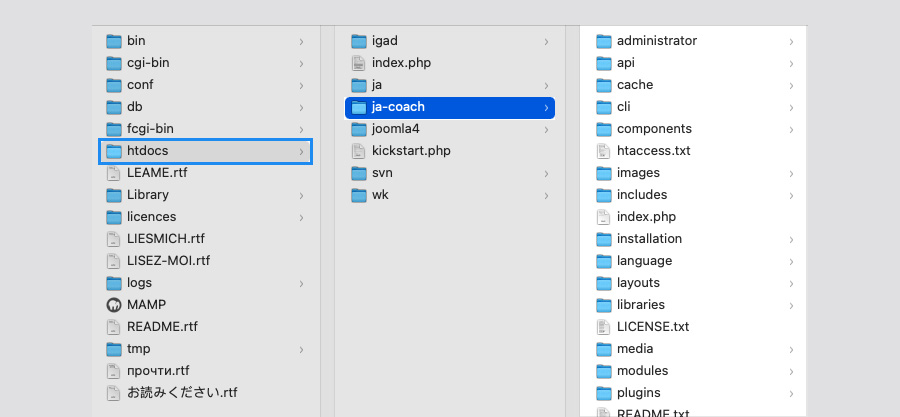
Once you have the Quickstart package, extract the downloaded package.
If you install in your localhost
If you install the quickstart in your localhost, copy the extracted folder to: ...\wamp\www (if you are using WAMP) and ...\xampp\htdocs (in you are using XAMPP)
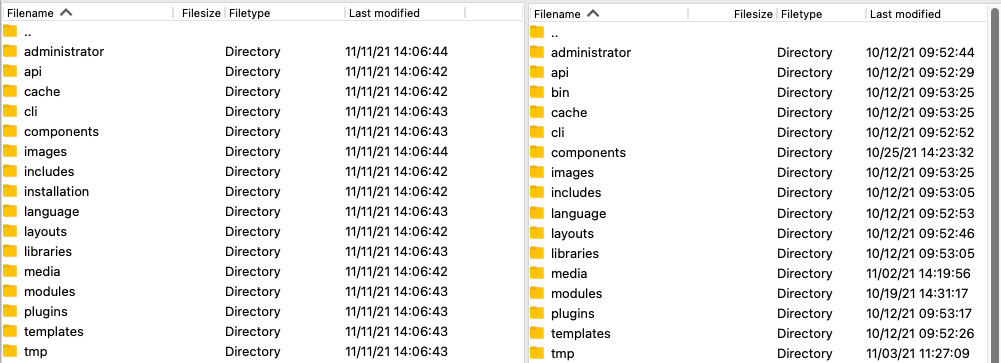
If you install from your hosting
If you want to install the quickstart from your hosting, please upload all folders in the folder that you just extracted to the FTP Base folder (normally it is public_html).
Create Database
Access your database control panel to create new database.
When access the databse control panel, create a new database

After creating database, copy the database name to add to the Quickstart Installation Winzard
Joomla 3 quickstart installation
1. Configuration
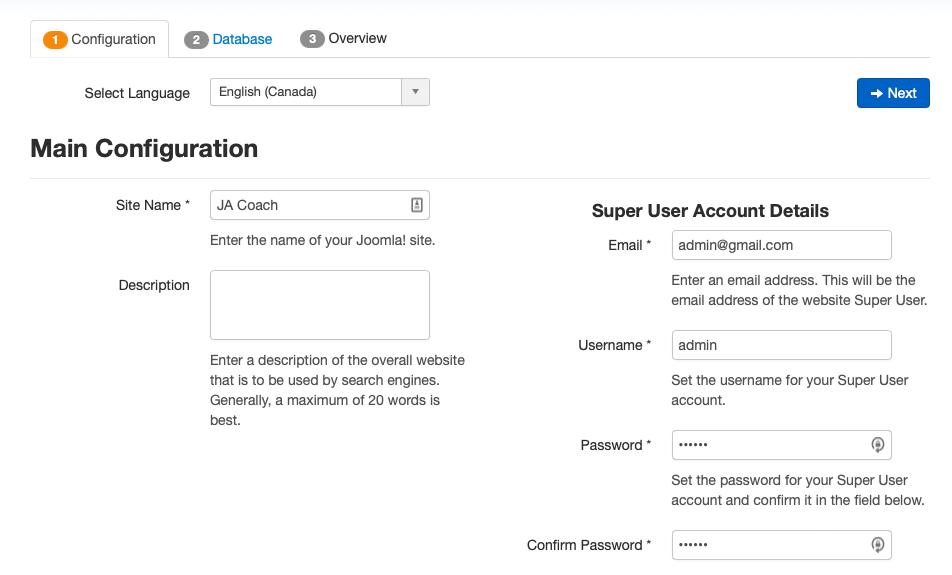
Parameter Explanation
- Select Language: as Joomla supports many languages, select the language that you want your website to be. Select your language for easy management.
- Site Name: enter your site name to the field.
- Admin Email: add the email of Administrator, you configure to send the configuration detail to the email.
- Admin Username: add the username of the Admin, this is the username to login the back-end panel as Super user so make user you remember the username.
- Admin Password: enter the password for the admin account.
- Confirm Admin Password: retype the admin password to confirm.
2. Database
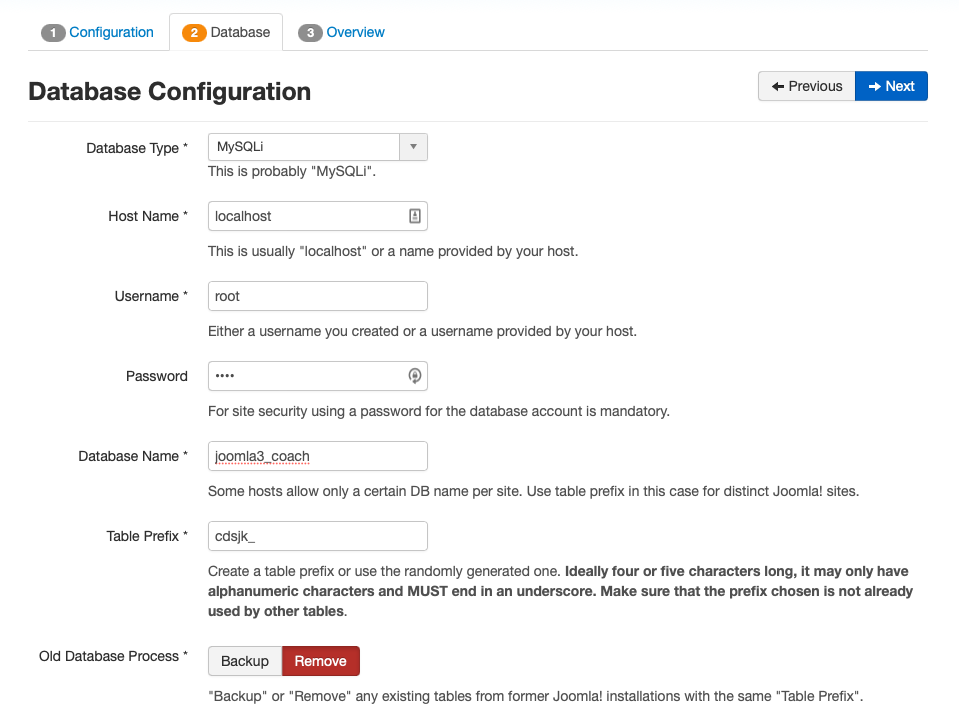
Parameter Explanation
- Database type: select the database type: MySQLi or MySQL.
- Hostname: enter your hostname in this field. In this example, we install in localhost so the hostname will be "localhost" but if you install from your hosting, you have to enter your hostname.
- Username: enter the username to access your host.
- Password: enter the password goes with the entered username to access your host.
- Database Name: paste the databse name that we created in Step 1.
- Table Prefix: enter the table prefix the the database name.
- Old database Process: If the databse we enter here is an existing database, we can select to back-up or remove the old database.
After entering all required information, click "Next" to proceed with our installation.
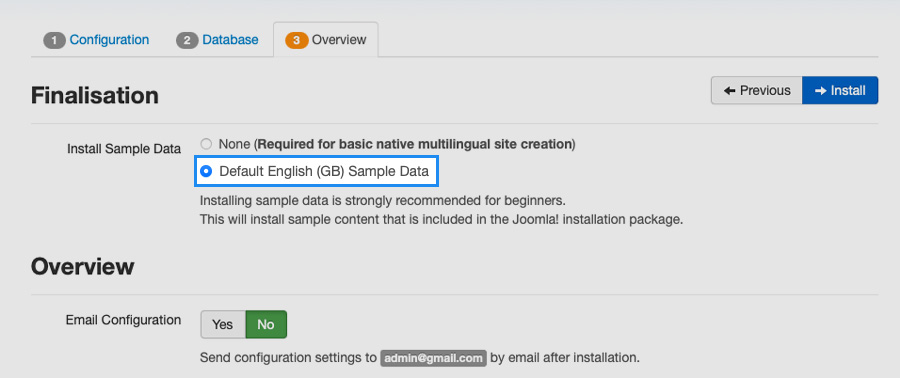
3. Sample data installation
It is import to select the Default Enlgish (GB) Sample Data, it is the template demo data that make your website like our demo site. The sample data includes the demo data, extension configuration and many more.
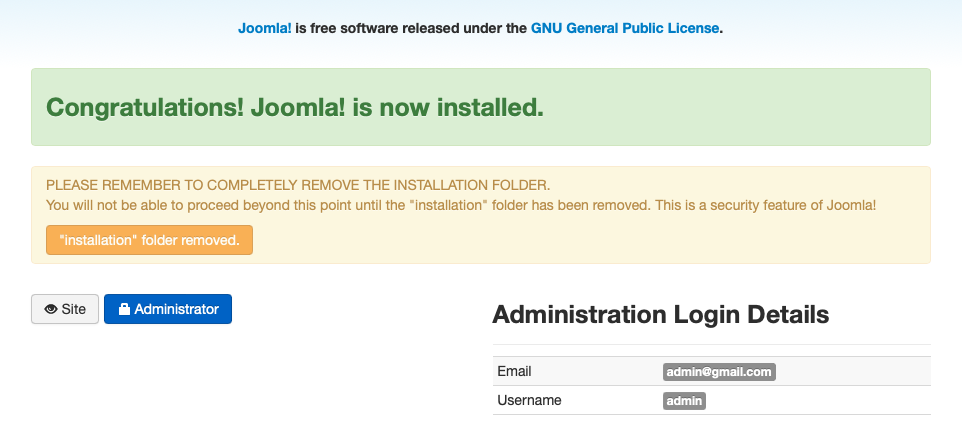
The next step is remove or rename the Installation folder for security purpose.
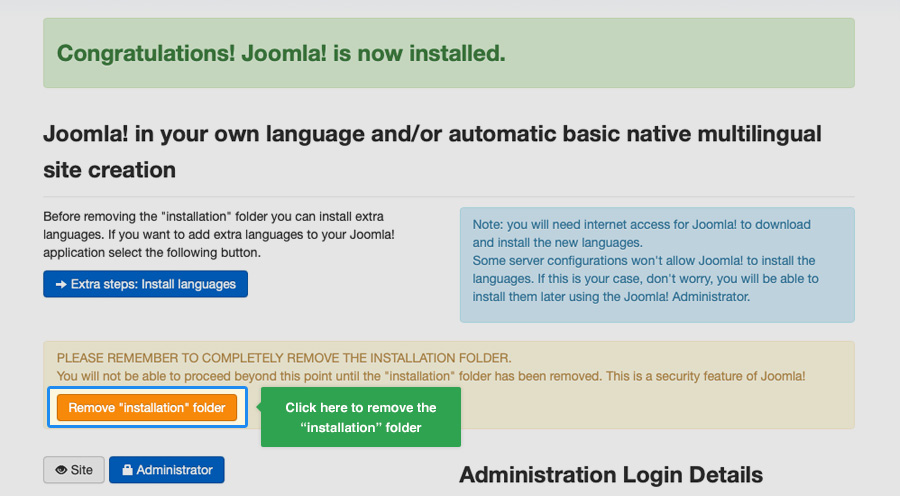
The installation is complete, now access the Admin panel with the account you entered in the installation process.
Joomla 3 admin login dashboard:
Your front-page will be same our Demo site, only images are different. In release package, we have to use blank image due to copyrights.