Plugin Installation
If you are new to Joomla, you can check our detail guide of How to install extensions in your Joomla site. This guide shows you not only how to install extensions but also how to set up the new installed extensions.
Before configuring or adding popup to your content, please make sure that the plugin is published.

In the configuration panel of the plugin, we also provide very useful instructions that can help you to use the plugin effectively.
Plugin Configuration
From the back-end of your Joomla site (administrator), go to: Extensions >> Plugin Manger, then click on plugin named JA Disqus Debate Plugin to go to configuration panel.
2.1 General Settings
Parameter Explanation
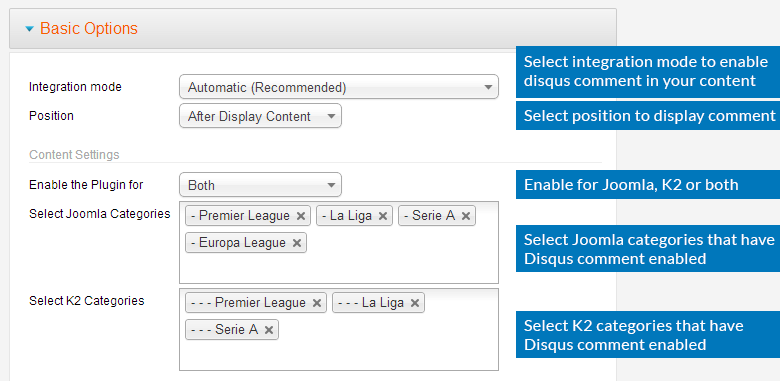
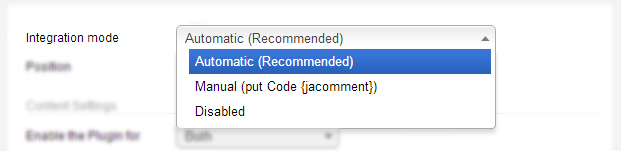
- Integration mode: select integration mode to enable comment:
- Automatic (recommended): this mode will automatically enable Disqus|Debate comment in content.
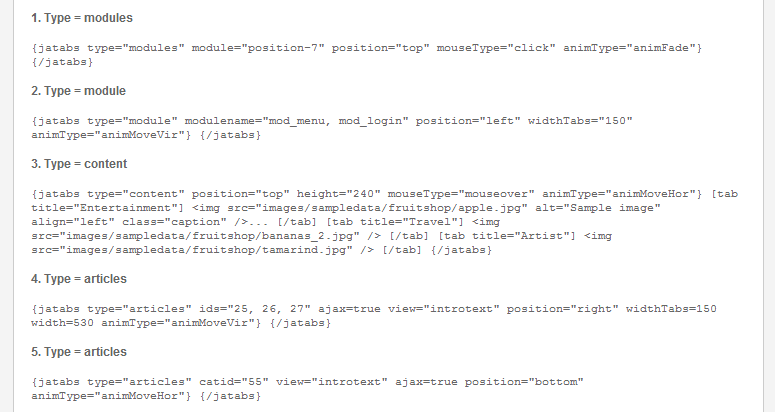
- Manual (put code ): if you select this mode, you have to add tag to the articles you want to enable comment.
- Disabled: if you select this mode, all inserted tag or will be parsed as normal text and of course the Disqus|Debate comment will be also disabled in your content.
- Position: select position to display comment form in your content: After content or After display content.
- Enable the Plugin for: the plugin supports both Joomla content and K2 content, you can select to enable the plugin for Joomla, K2 or both.
- Select Joomla Categories: select Joomla categories that have the plugin enabled.
- Select K2 Categories: select K2 categories that have the plugin enabled.
Front-end Appearance
2.2 Account Settings
The plugin supports 2 comment providers: IntenseDebate and Disqus, select the comment provider you want to use in your site.
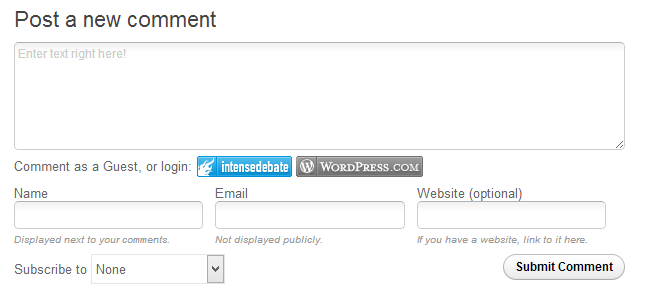
IntenseDebate

Parameter Explanation
- Comment Provider: select comment provider in this field that you want to use in your content.
- IntenseDebate Account: add your Intense Debate account.
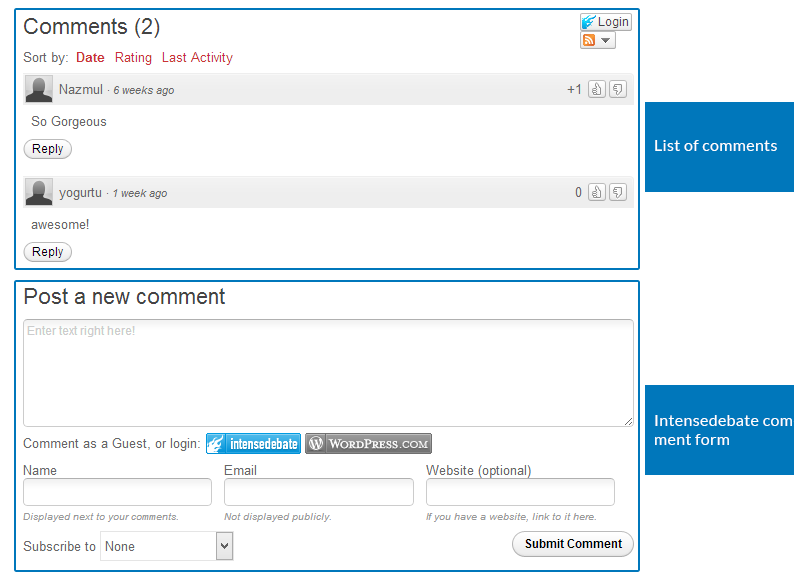
Front-end Appearance
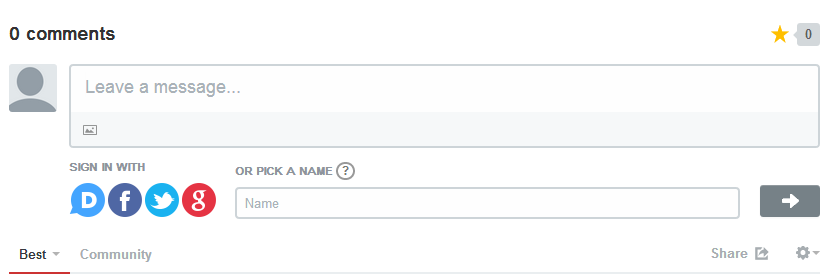
Disqus
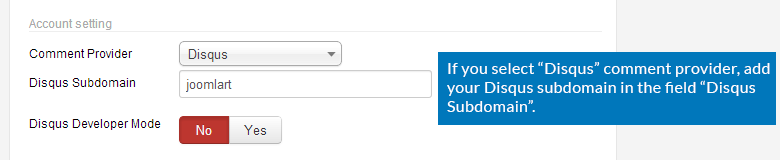
Parameter Explanation
- Comment Provider: select comment provider in this field that you want to use in your content.
- Disqus SubdomainDisqus: set the subdomain that you registered with Disqus.
- Developer Mode: enable this option if you are testing behind a firewall or proxy. Please disable this option when you live your site.
Front-end Appearance
2.3 Comment Count on Listing Page Settings
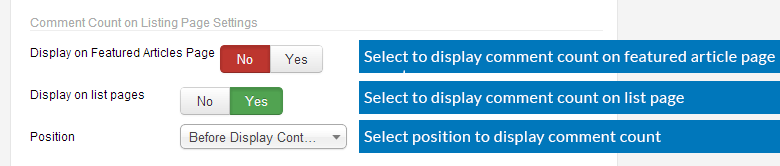
Parameter Explanation
- Display on Featured Articles Page: enable this option if you want to display Comment count in featured article list page, disable this option if you only want to display comment count in normal article page.
- Display on list pages: select to display Comment count on list page or not.
- Position: set the position of Comment count in list page: Before Display content, After Display content, After title.
Front-end Appearance

2.4 Comment Count on Detail Page Settings
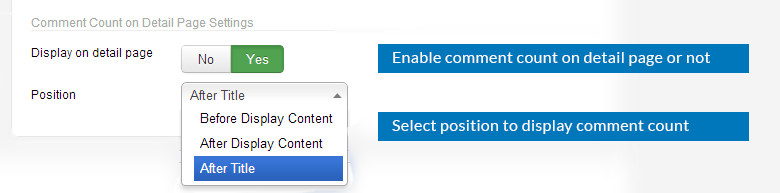
Parameter Explanation
- Display on detail page: select to display Comment count on detail page or not.
- Position: set the position of Comment count in list page: Before Display content, After Display content, After title.
Front-end Appearance