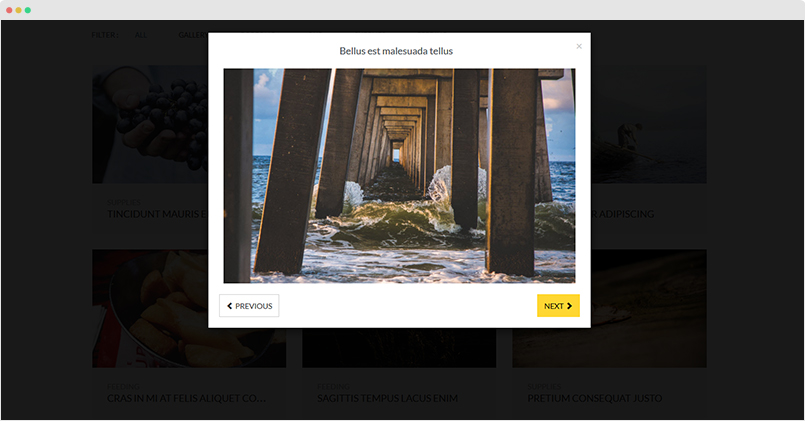
Supported Content Types
JA Content Type plugin is developed to extend Joomla core content component (com_content). In details, it allows you to create more content types. In JA Charity, we added 4 extra custom content types that override Joomla com_content. In each content type, we add more custom fields while keeping all default Joomla Article fields and each content type has its own view, structure and style.
- Events
- Gallery
- Video
Requirement
To make the content types available in your site, install JA Content Type System plugin and JA Content Type Ajax plugin and enable it.
Add new content
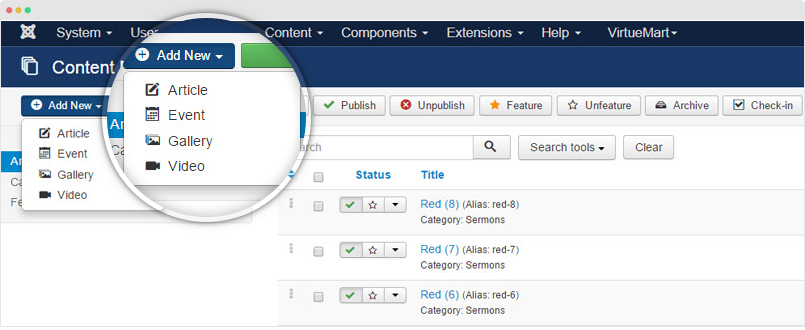
The content types are managed in the “Article Manager”. You can add new item by hitting the “Add New” button then select the content type you want.
Create new item
From back-end setting, please go to: Content > Article Manager > hit the "Add New" button and select content type.
Search for content to edit
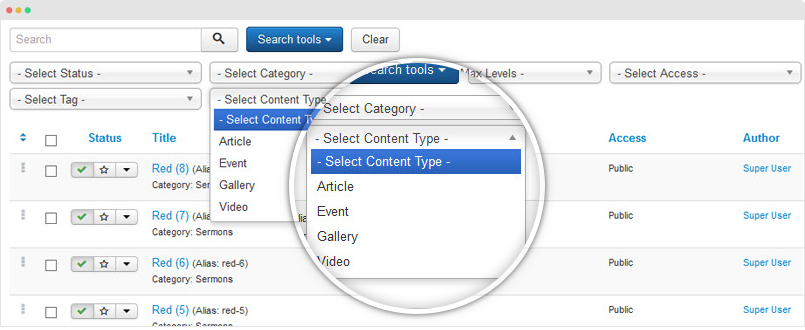
To find the content to edit, you can filter by content type. Expand the Search tools by hitting the "Search Tools" button, select content type to filter.
Video Content Type
Video content type is aimed to manage your video from given sources, at present it supports:
- Youtube
- Vimeo
- Local upload: Video and Audio files
- Other upload: Embed iframe Code
It has its own view, style and its settings include:
- All settings from default Joomla Article
- Video-specific custom fields: Video source, Thumbnail, Description, Video width & height, etc.
Step 1: Create content
- First, you create category to store video items. This remains the default Joomla category as usual. It will help you manage items and build category view for video items easier.
- Then, create video items (simply click ‘Add new’ in Joomla article manager panel) and assign to the category you just create above.
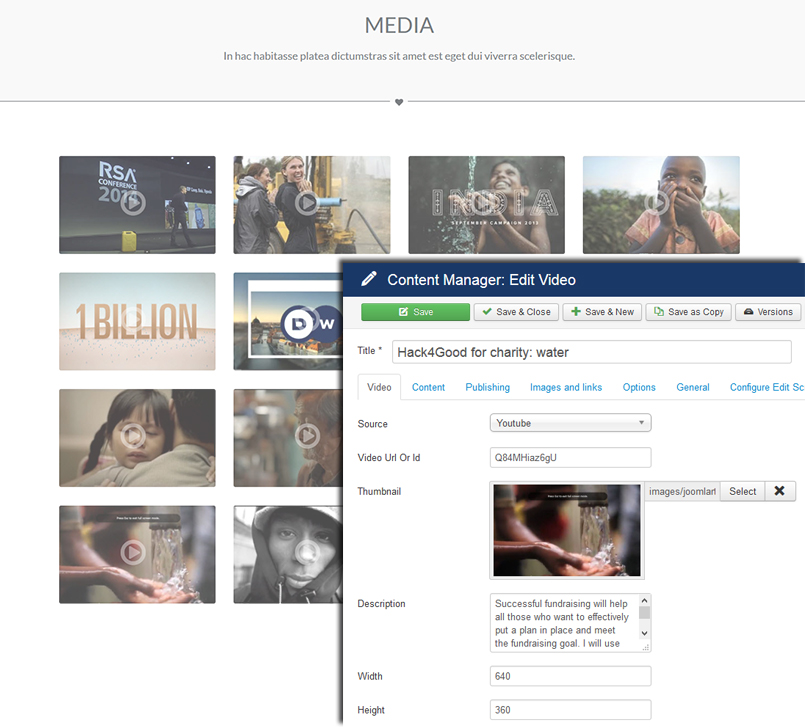
Manage your videos directly via Joomla com_content
Step 2: Assign view for your videos
As can be seen on JA Charity, we use JA ACM (JoomlArt Advance custom module) to build views for the video content type. Here are steps:
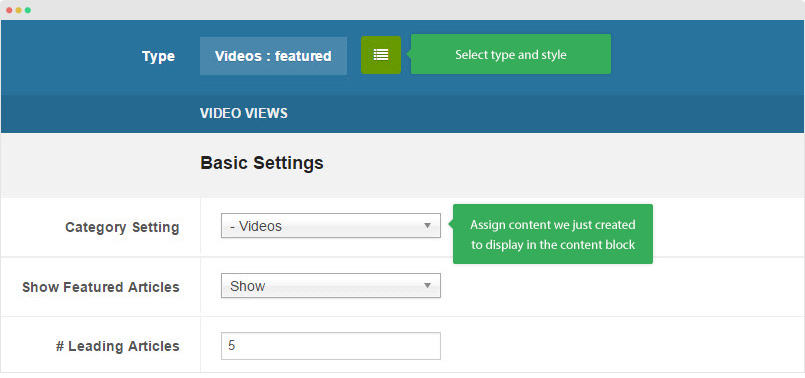
- Create new ACM Module (Extensions > Module Manager > Add new module > select “JoomlArt Advanced Custom Module”)
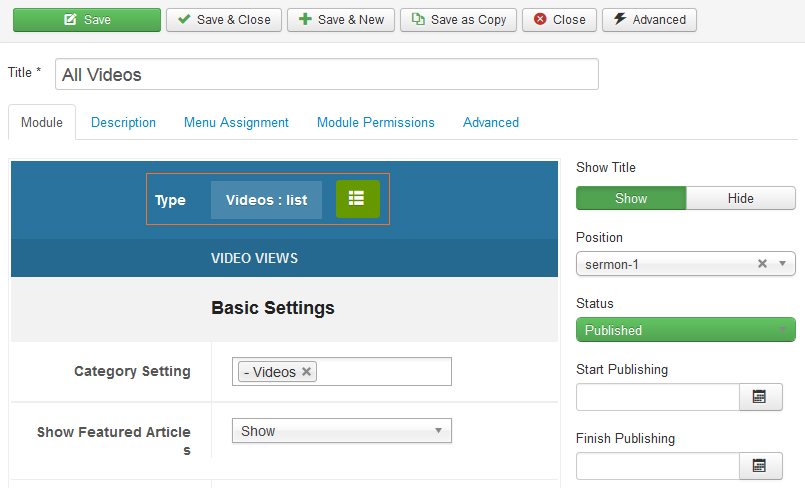
- Select type, style and assign content to display in the ACM following the configurations below:
1. "Video - List" style
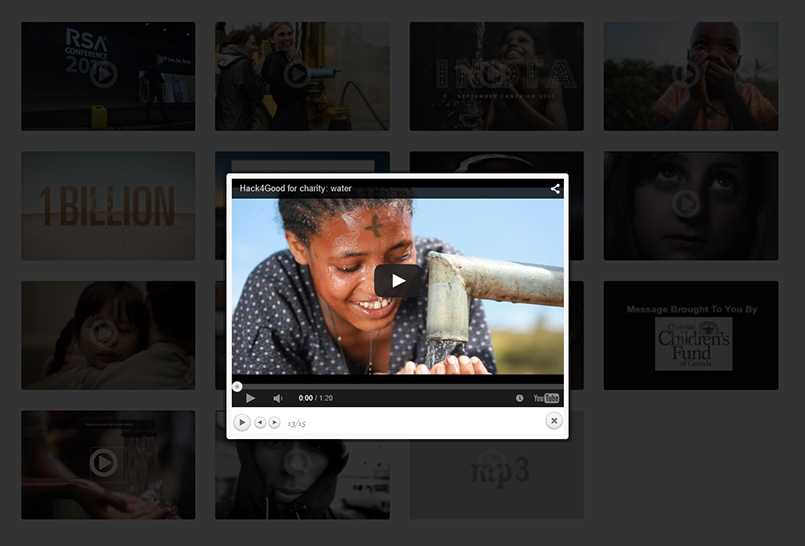
Front-end appearance
Events content type
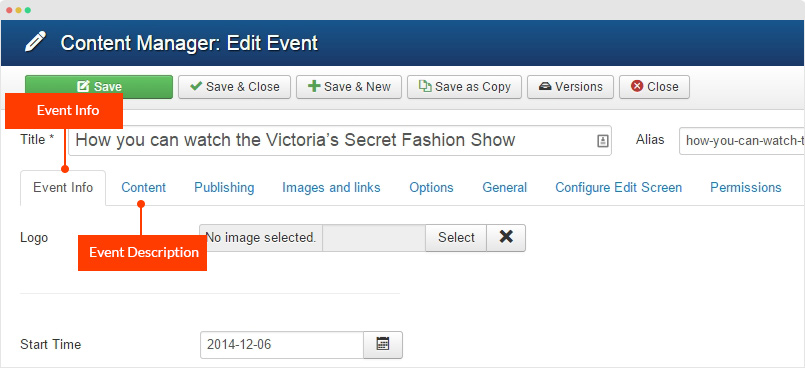
Here are steps to create and assign view for Event content. You should see the following settings when creating a new event item:
- All settings from default Joomla Article
- Event-specific custom fields (in the Event Info tab): Event logo, start time, end time, map information, sponsor, speaker, etc.
Step 1: Create Event content
- First, create a standard Joomla category to store your event items
- Then, create new event items (simply click ‘Add new’ in Joomla article manager panel) and assign them to the category you just create above.
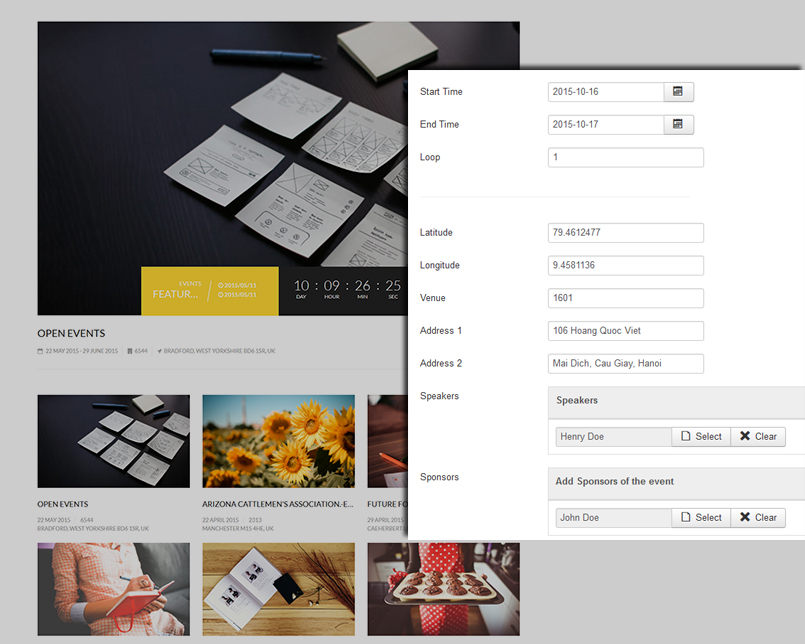
Typical event item via Joomla com_content
In JA Charity, the Event detail page includes 2 sections: Event description and Event Info. The Event Info section is added in the “Event Info” setting panel (in Event editing page) and the Event description in the “Content” panel.
Create Speaker and Sponsor
In Event page, you can see the Speaker and Sponsor field. The fields get content from Joomla COM_CONTACT. Here are the instruction to create Speaker and Sponsor.
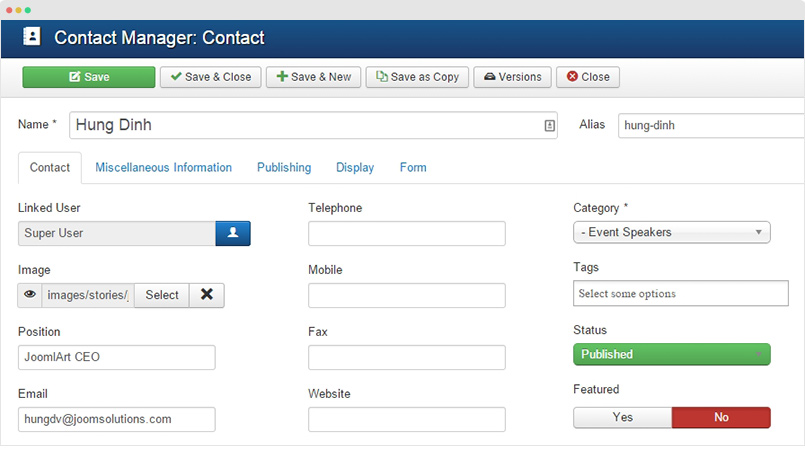
Step 1 - Create new contact
Go to Components > Contacts, add new categories (one for Speaker and one for Sponsor), this will help you manage contacts easier.

Now create new contact in each category.
Step 2 - Assign the contact for the Speaker and Sponsor fields in Event
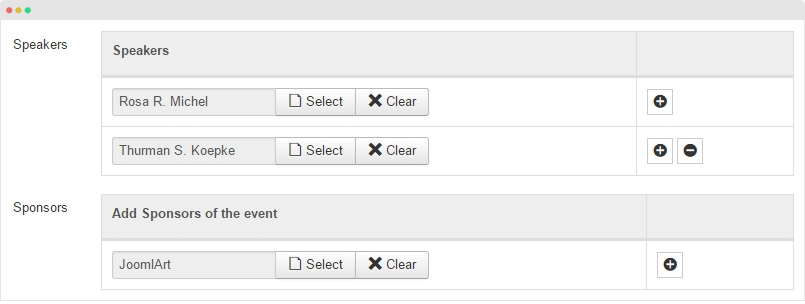
Open the event editing page, in the "Event Info" tab, find the "Sponsor" and "Speaker" field hit the "Add New" button.
Step 2: Assign view to your Events
Here are steps to create new content block to display the content type. Again, ACM is used to handle this task:

ACM instance to display Event
- Create new ACM Module (Extensions > Module Manager > Add new module > select “JoomlArt Advanced Custom Module”
- Select “Events” type then style and assign content to display in the ACM following the configurations below:
1. "Event - Highlight" style
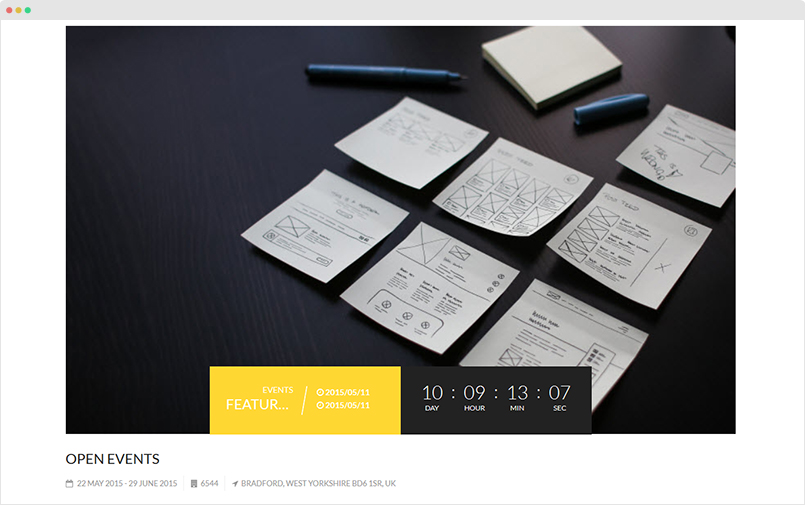
2. "Event - List" style
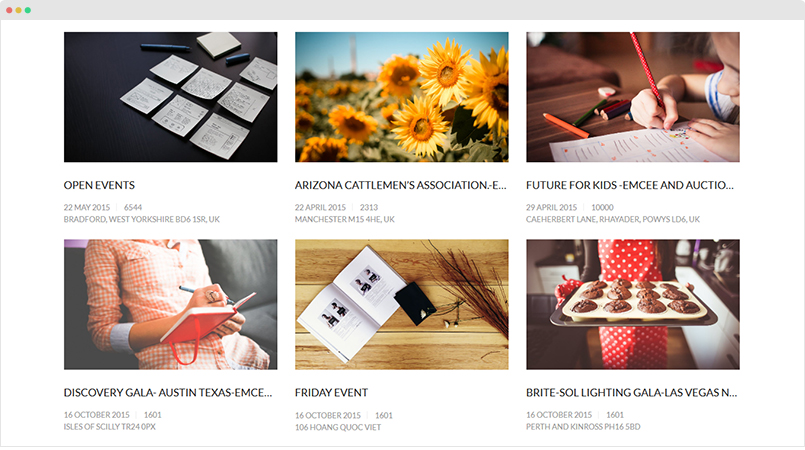
Gallery Content Type
Steps to create and assign view for Gallery content. You should see the following settings when creating a new Gallery item:
- All settings from default Joomla Article
- Gallery-specific custom fields (in the Gallery tab): Image, Class, Caption and Link.
Step 1: Create Gallery content
- First, create a standard Joomla category to store your Gallery items
- Then, create new Gallery items (simply click ‘Add new’ in Joomla article manager panel) and assign them to the category you just create above.
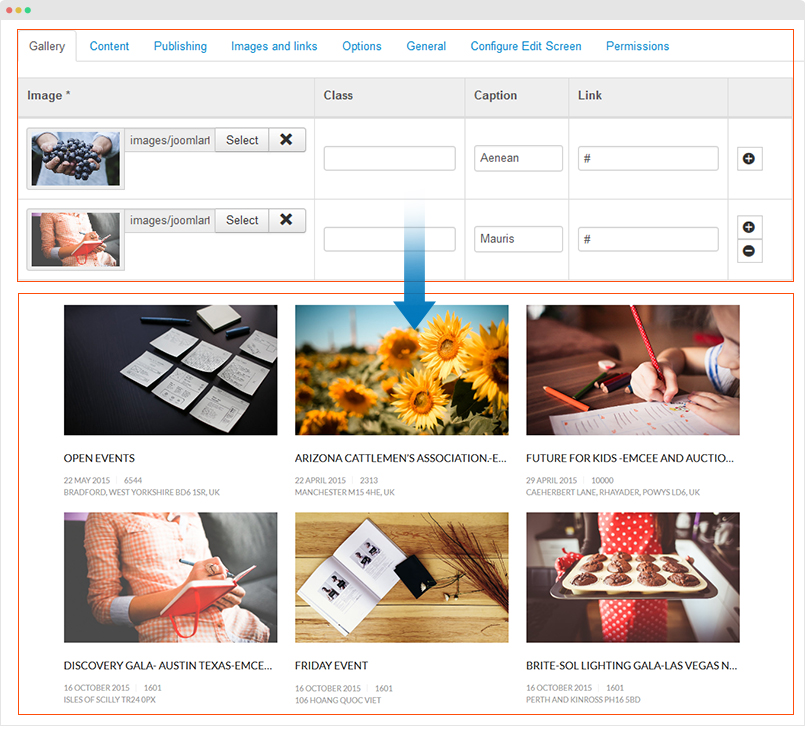
Typical Gallery item via Joomla com_content
In front-page, the Gallery detail page includes 2 sections: gallery images and description.
Step 2: Assign view to your Gallery
Here are steps to create new content block to display the content type. Again, JA ACM is used to handle this task:
- Create new ACM Module (Extensions > Module Manager > Add new module > select “JoomlArt Advanced Custom Module”
- Select “Gallery” type, "list" style and assign content to display in the ACM, leave it blank if you want the module get Gallery items from all categories
Front-end Appearance
