Viewing 1 post (of 1 total)
Viewing 1 post (of 1 total)
This topic contains 1 reply, has 1 voice, and was last updated by Hung Dinh 14 years ago.
We moved to new unified forum. Please post all new support queries in our New Forum
Create your own Custom module for Joomla! 1.6
First of all, you should set Editor:
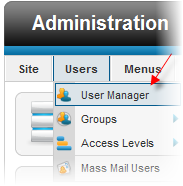
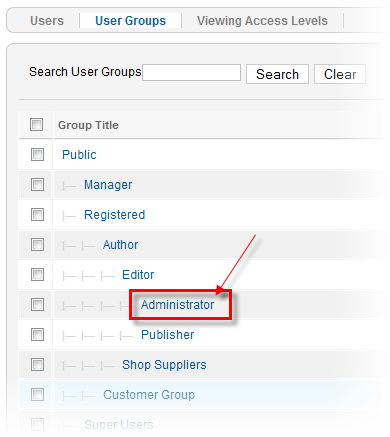

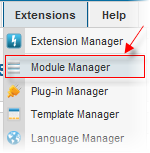
Now, please follow instructions below to create Custom module:


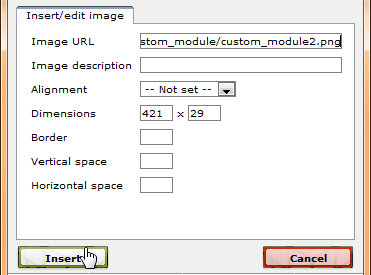
1. Option 1: Select Image icon from Editor
Input image path >> choose Insert button.
Notes: image is set default in left site. You select Appearance tab to reset image
2. Option 2: Applicable if images have already been available in your site.Select Image button on Editor screen:

Locate image folder, then select image you expect >> click Insert button
3. Option 3: Applicable if the image is not available in your site.
First way, you need to upload images to your site by clicking Browse files button. Choose image (you can select one or multi images at one time)Click Start Upload to upload images to your site. You will see image in Insert Image dialog box:
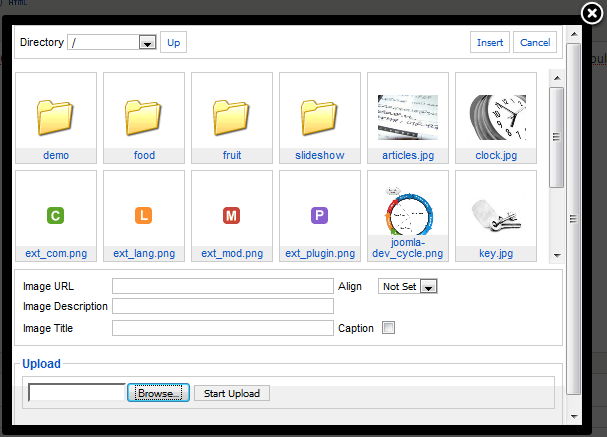
Second way, you can copy image file or image folder directly into your_site_path/images/stories. From Insert Image dialog, locate image folder, then select image you expect >> click Insert button
Finally, go to frontpage, you will see the result.

Please note : You can click on HTML button, to view the HTML code of the article. It is advised to use HTML view to find and fix unclosed tags.
This topic contains 1 reply, has 1 voice, and was last updated by Hung Dinh 14 years ago.
We moved to new unified forum. Please post all new support queries in our New Forum