-
AuthorPosts
-
Hung Dinh Friend
Hung Dinh
- Join date:
- September 2014
- Posts:
- 4408
- Downloads:
- 11
- Uploads:
- 189
- Thanks:
- 309
- Thanked:
- 3310 times in 3 posts
March 7, 2011 at 7:32 am #1611101. Get to Know Your Template
- Everyone should read the Template’s Overview Article! This is a quick and complete overview of the template, from the colors included, to all of the powerful Joomlart complimentary extensions that come with it. You’ll also find links to the LIVE Demo Site, the Download area, as well as the Forum where you can ask questions.
- Need Help Getting Around Joomlart.com? We’ve created a QUICK ACCESS GUIDE for helping you to become a Joomlart Power User. This is a wonderful reference, full of tips on how to quickly find the template info, demo sites, module position guides and more. We don’t want you to miss a thing!
2. Download Template and Extensions:
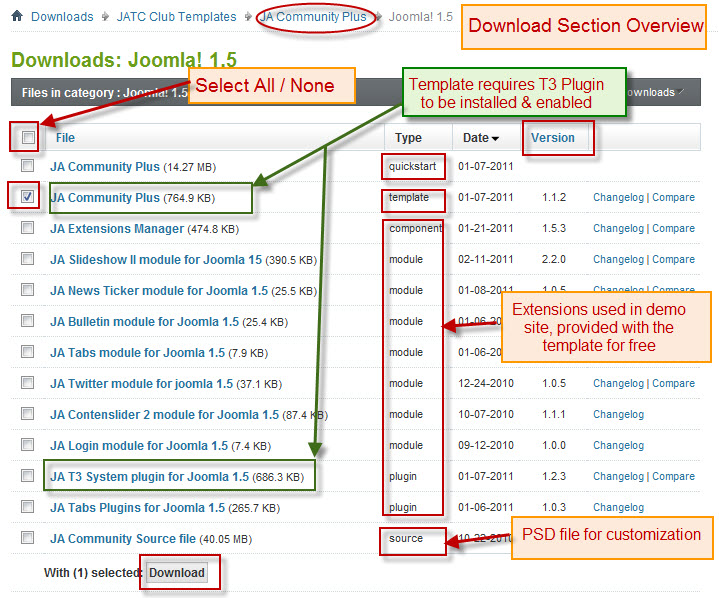
Check the download folder for Quickstart, Template zip and other complimentary extensions zip files.
Plan your website Development.
1. Making a new website? – If you are planning to make a new website, then use our Quickstart package to clone the demo site and replace the demo content with yours. Check out How to install Quickstart Package guide.
2. Installing on your live website? – If you are planning to use this template on your already live website, you should follow How to make your site look like demo site guide first to know about the steps involved. Then you can follow up the user guide below.The user guide covers the following aspects:
- Installing Template on your Joomla system
- Installing T3 Framework 2 Plugin
- Installing complimentary / included extensions.
- Custom HTML Modules.
- Using Template Typography
- Mega Menu configurations
- K2 Modules setup
- K2 Installation / configuration.
Hung Dinh Friend
Hung Dinh
- Join date:
- September 2014
- Posts:
- 4408
- Downloads:
- 11
- Uploads:
- 189
- Thanks:
- 309
- Thanked:
- 3310 times in 3 posts
March 8, 2011 at 1:49 am #3801541. Installing Template on your Joomla system
- Browse and Download: Go To Download Folder of JA Community Plus and download the Template zip file. Refer to this screenshot for the overview of the download folder.
- Install the Template: Now install the Template on your Joomla 1.5 system. Follow This Guide if you are not familiar with the installation procedure.
Template Configuration :
JA Community Plustemplate will install with Settings used on the demo website, so you can postpone the configuration until you complete the setup (install other modules / plugins used in the demo website).
Once you have completed the setup, you can go back to the template backend and check various options for customizing your template. Refer to this Universal T3 V2 Backend Config Guide for options on how to customize your installed template.
Please Note: T3 V2 template configurations are same in Joomla 1.5 and Joomla 1.6, so the above guide link is valid for both versions.
Links to resources on T3 V2 Framework templates and advanced configurations :
- Overview
- Developer Guides
- Customization FAQs
- Mega Menu – A missing menu system for Joomla!
- Video Tutorials (works for Joomla 1.5 also)
Error? – I see “Missing T3” error on the frontend?
T3 framework 2 based templates need the T3 Framework Plugin to be installed and enabled.2. Installing T3 Framework 2 Plugin (T3 system plugin)
Download and install the T3 Framework 2 Plugin (aka T3 System plugin). Follow this guide if you are not familiar with the installation procedure. After the plugin is installed, enable it as described in the same guide.
Hung Dinh Friend
Hung Dinh
- Join date:
- September 2014
- Posts:
- 4408
- Downloads:
- 11
- Uploads:
- 189
- Thanks:
- 309
- Thanked:
- 3310 times in 3 posts
March 8, 2011 at 1:50 am #3801553. Installing complimentary / included extensions and Demo configurations:
- Free Extensions: (aka complimentary / included extensions). We use many extensions in our demo site to provide greater flexibility and features. These are provided for free to our members.
- Custom HTML Module: To match the design of the template, we also style (CSS) Custom HTML modules using different div classes. You will need to check the HTML codes and make sure you use the recommended HTML markup to get the correct display. We provide the HTML code in this userguide.
- 3rd Party Extensions: This template uses custom styles for K2 Component. You will need to download K2 from the developer’s website and install it referring to the userguide below.
Know your Module Positions:
1. View Module Position Image (used positions only).
2. Use Module Position Overlay in Template (used & empty module positions).
TIP: Read more about Checking and Finding Module Positions in T3 Templates.Installing and Configuring Included Extensions:
List of modules / plugins used in JA Community Plus Template Demo:
- JA Slideshow II Module
- JA Login Module
- JA Contentslider 2 Module
- JA News Ticker Module
- JA Twitter Module
- JA Bulletin Module
- JA Tabs Module
- JA Tabs Plugin
IMPORTANT: We provide the screenshot of the settings from the demo site. Make sure you configure your modules / plugins in the same manner to achieve demo site alike style / functions.
Hung Dinh Friend
Hung Dinh
- Join date:
- September 2014
- Posts:
- 4408
- Downloads:
- 11
- Uploads:
- 189
- Thanks:
- 309
- Thanked:
- 3310 times in 3 posts
March 8, 2011 at 1:50 am #380157Configurations for Modules / Plugins as used on our Demo Website.
1. JA Slideshow II Module
There are two JA Slideshow II modules being used in JA Community Plus Demo, their names are: Home slideshow and Gallery1.1 Home slideshow
Module Position: slideshow

Module Suffix : NOT USED
Backend SettingsAs you can see in the backend settings, slideshow’s images come from “images/stories/slideshow” folder that contains images with dimensions 470×215 pixels.
Here is the description for each image:
<h3>Top 10 Math Professors in LA</h3>
<p>Youth Education gives kids endless possibilities to meet new friends, explore new interests & develop their talents</p><h3>Programs for Kids of All Ages!</h3>
<p>At et id justo accumsan Donec a odio nibh id et. Quisque nunc nibh sit pretium turpis eget sed non Proin non</p><h3>How to choose university?</h3>
<p>Suscipit est Morbi id senectus Integer iaculis interdum Aenean lobortis dui. Curabitur Pellentesque</p><h3>Nulla Vestibulum In ut tortor</h3>
<p>Orci dolor quis ut id sit nunc gravida et mauris in. Vestibulum pretium at Curabitur eros Nam Aenean</p><h3>Vestibulum sollicitudin conse</h3>
<p>Curabitur Pellentesque convallis commodo tincidunt vitae ante id Nam Vestibulum Suspendisse</p>
1.2 Gallery
Module Position: sl-gallery

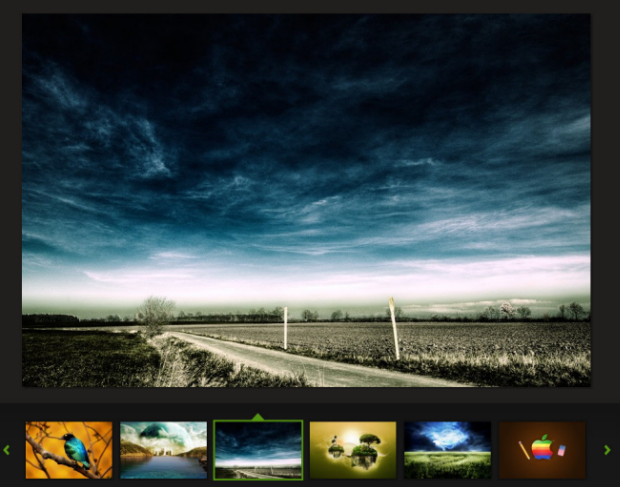
Module Suffix: NOT USEDWhile Home slideshow pulls images from “images/stories/slideshow” folder, Gallery’s images are located in “images/gallery” folder. Dimensions of the images in Gallery are 883×580 pixels.
2. JA Login Module
Module Position: quickaccess

Module Suffix: NOT USED
Backend Settings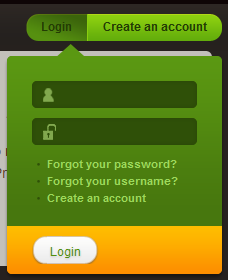
3. JA Content Slider
There are four JA Content Slider modules being used in JA Community Plus Demo. Their names are: Student lifestyle, International Programs , Universities News and Student lifestyle News. These four modules source is taken from K2.
3.1 Student lifestyle
Module Position: content-bot

Module Suffix: NOT USED
Backend Settings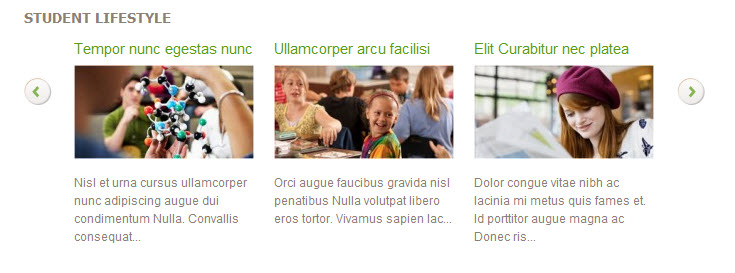
3.2 International Programs
Module Position: content-bot

Module Suffix: NOT USED
Backend Settings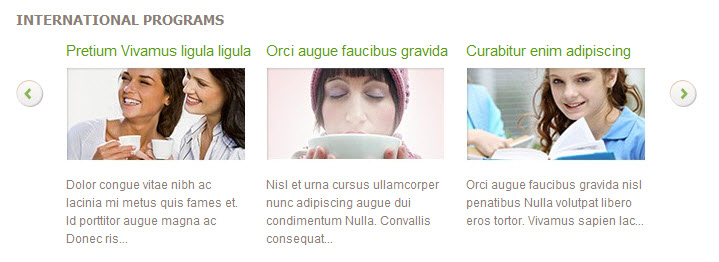
3.3 Universities News
Module Position: ja_tabs2

Module Suffix : NOT USED
Backend Settings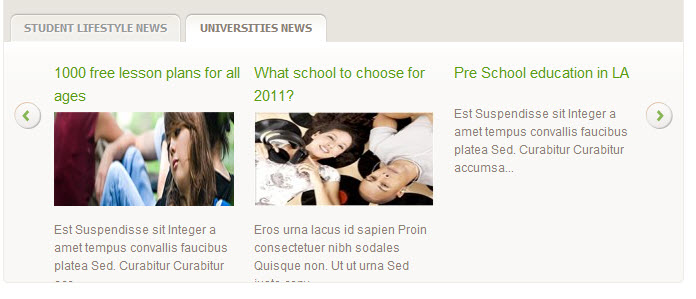
3.4 Student lifestyle News
Module Position: ja_tabs2

Module Suffix: NOT USED
Backend Settings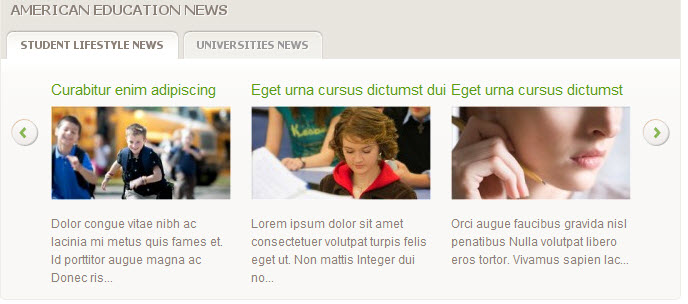
4. JA News Ticker
Module Position: user6

Module Suffix: NOT USED
Backend Settings
5. JA Twitter Module
Module Position: right

Module Suffix: NOT USED
Backend Settings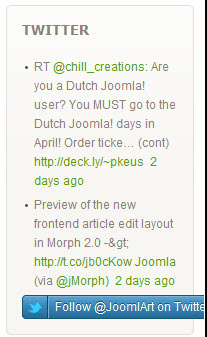
6. JA Bulletin – named as Latest post
Module Position: right

Module Suffix: NOT USED
Backend Settings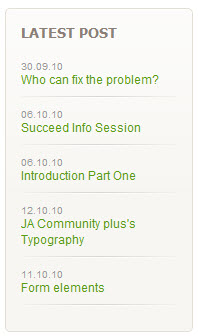
7. JA Tabs Module
Module Position: content-top

Module Suffix: _tabswrap
Backend Settings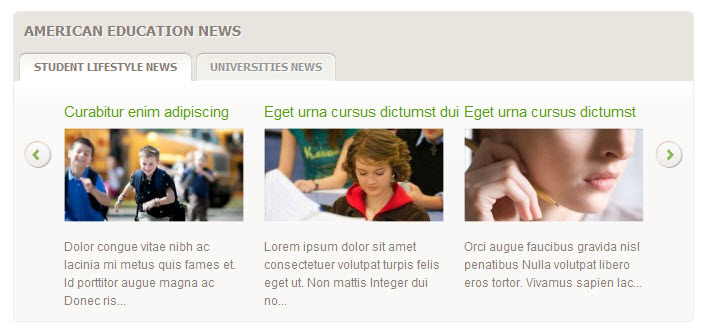
8 JA Tabs plugin
JA Tabs Plugin is used in 3 different methods.
8.1 JA Tabs Plugin – jatabs2 positionAll modules that are placed on jatabs2 position will load JA Tabs Plugin.
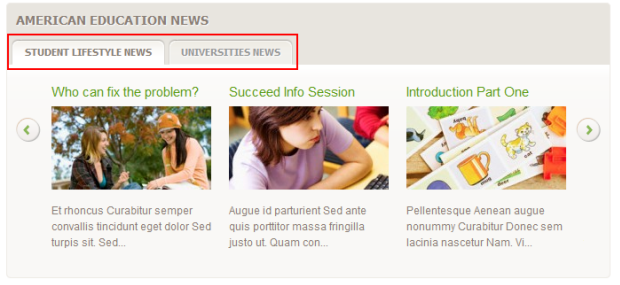
8.2 JA Tabs Plugin – jatabs position
First, add jatabs into an article where you want to run the JA Tabs Plugin. For JA Community Plus Demo, add jatabs into Mission and Staff article
{jatabs type=”modules” style=”community3″ module=”ja_tabs” position=”top” animType=”animMoveHor” pre=true}{/jatabs}
All modules ( Recent articles, Latest modified, Popular articles ) are put in [/B]jatabs position will load JA Tabs Plugin.
Now, see how it work in the demo site: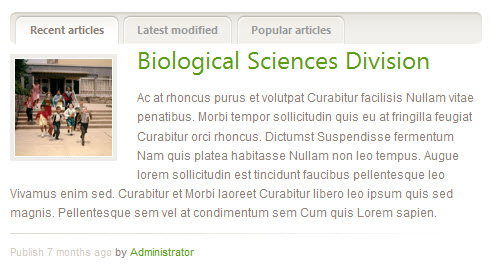
8.3 JA Tabs Plugin – Typography article
For this part, you should select the main article which is redirected to add jatabs.
In JA Community Plus Demo, Main article is JA Community plus’s Typography which is linked when you click Typograply Menu in the frontend, you could add jatabs into this article to call other article-ids to run JA Tabs Plugin.{jatabs type=”articles” ids=”59, 60, 61, 62, 63, 64, 65″ ajax=true view=”introtext” position=”left” widthTabs=295 width=930 animType=”animMoveVir” pre=true}{/jatabs}
Articles have ids=”59, 60, 61, 62, 63, 64, 65″ will be loaded to use JA Tabs Plugin. Look at the following image: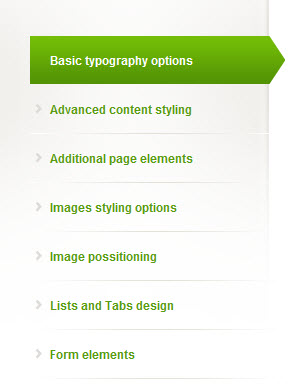
Hung Dinh Friend
Hung Dinh
- Join date:
- September 2014
- Posts:
- 4408
- Downloads:
- 11
- Uploads:
- 189
- Thanks:
- 309
- Thanked:
- 3310 times in 3 posts
March 8, 2011 at 1:51 am #380158Custom HTML Modules
We use total of 18 Custom HTML Modules in JA Community Plus Template.
If you are not sure how to use Custom HTML Modules or how to access the HTML Editor view, please Read this Guide.
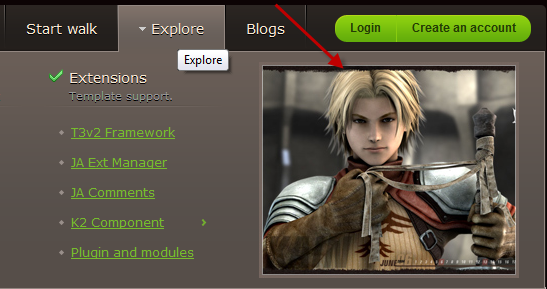
We will provide you with the HTML Code (markup) for reference below, and you will need to replicate it exactly and then change your content. Remember, HTML code has special div classes, which are required for demo alike display.1.T3 Framework
Module Position: ads

Module Suffix: NOT USED
<p><img src=”images/stories/demo/sam-50.jpg” border=”0″ alt=”Sample image” /></p>
2.Online Consultation
Module Position: left

Module Suffix: "_blank"
<p><img src=”images/stories/demo/online.png” border=”0″ alt=”Custome banner” /></p>

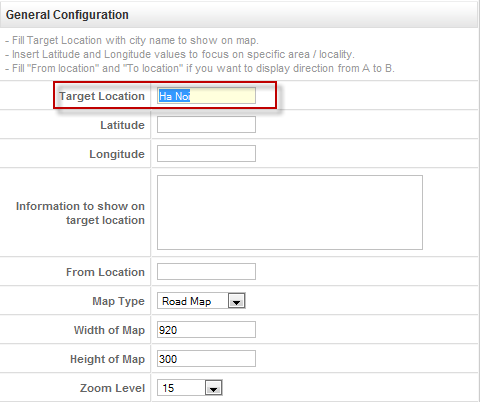
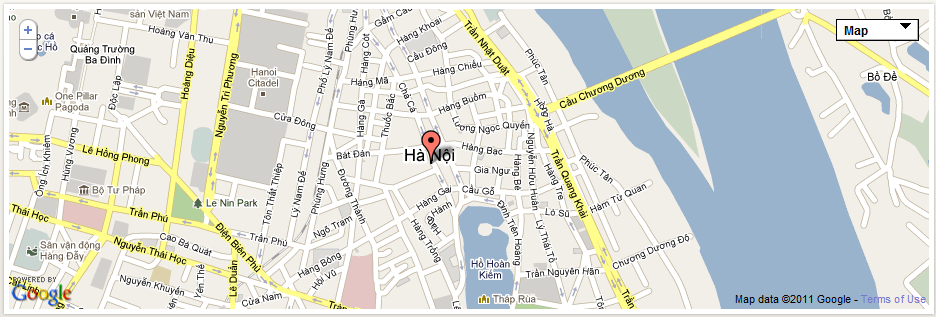
3.Google map
Module Position: map

Module Suffix: NOT USED
<p>{jamap }</p>
4.Top 10 Schools
Module Position: right

Module Suffix: "_blank"
<p><img src=”images/stories/demo/banner-1.png” border=”0″ alt=”Banner” /></p>
<div style=”margin-top: 10px;”><img src=”images/stories/demo/banner-2.png” border=”0″ alt=”Banner” /></div>
5.CoolStudent Blog
Module Position: right-mass-top

Module Suffix: "_noborder"
<p><img src=”images/stories/demo/bsc.png” border=”0″ alt=”Sample icon” align=”left” /> The CoolStudent Blog provides students with information, news, advice and announcements about studying internationally all around the world.</p>

6.Sample banner
Module Position: right-mass-top

Module Suffix: "_blank"
<p><a href=”#” title=”Sample banner”><img src=”images/stories/demo/sam-banner1.png” border=”0″ alt=”Sample banner” /></a></p>

7.Youth Education Program
Module Position: user1

Module Suffix: NOT USED
<p><img src=”images/stories/demo/icon-3.png” border=”0″ alt=”Sample icon 3″ align=”left” /> Accessible learning environment where you can learn a subject in the same fashion as in school.</p>

8.Testimonies
Module Position: user10

Module Suffix: NOT USED
<p>President Obama wants to lower the dropout rate. He also wants to raise academic standards.</p>
<p class=”name”>- Byron Pulsifer</p>
9.Our Social Profiles
Module Position: user11

Module Suffix: NOT USED
<p><a class=”ja-share-this” href=”#”>Sharethis</a></p>
<p class=”ja-social”><img src=”images/icons/facebook_16.png” border=”0″ /><img src=”images/icons/twitter_16.png” border=”0″ /><img src=”images/icons/myspace_16.png” border=”0″ /><img src=”images/icons/linkedin_16.png” border=”0″ /><img src=”images/icons/flickr_16.png” border=”0″ /></p>
10.Stay update
Module Position: user14

Module Suffix: NOT USED
<p><span style=”color: #56859d;”>Keep abreast of our news.</span></p>
<p style=”margin-bottom: 0;”><img src=”images/stories/demo/rss-small.png” border=”0″ alt=”RSS Small” /> <img src=”images/stories/demo/email-small.png” border=”0″ alt=”Email Small” /></p>
11.Lesson Plan Database
Module Position: user2

Module Suffix: NOT USED
<p><img src=”images/stories/demo/icon-2.png” border=”0″ alt=”Sample icon 2″ align=”left” /> Choose from hundreds of our technology friendly lessons developed by our master teachers.</p>

12.Youth Education Services
Module Position: user3

Module Suffix: NOT USED
<p><img src=”images/stories/demo/icon-3.png” border=”0″ alt=”Sample icon 3″ align=”left” /> Accessible learning environment where you can learn a subject in the same fashion as in school.</p>
13.Education costs report
Module Position: user5

Module Suffix: _full
<div class=”ja-box-full clearfix”><img src=”images/stories/demo/ico-4.png” border=”0″ alt=”Sample image” align=”left” />
<div class=”ja-content”>
<h3>Education costs report</h3>
<p>Our new online education costs calculator will be useful for parents who looks forward.</p>
<p class=”readmore”><a href=”#” title=”Sample link”>Start calculating</a></p>
</div>
</div>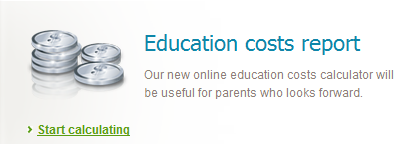
14.Subscribe
Module Position: user5

Module Suffix: "-float-left"
<p style=”margin: 0;”>Subscribe to our e-Updates and keep abreast of our portal news.</p>
<form id=”form-subscribe”>
<p><label for=”subscribe-name”><input class=”subscribe-name” name=”subscribe-name” type=”text” value=”Your name” /></label></p>
<p><label for=”subscribe-email”><input class=”subscribe-email” name=”subscribe-email” type=”text” value=”Email” /></label></p>
<input class=”button” type=”submit” value=”Subscribe” /> </form>
15.Upcoming Seminar
Module Position: user5

Module Suffix: "-float-right border-wrap"
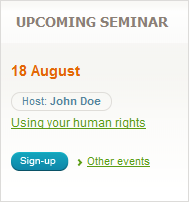
<div class=”event”><span class=”date”>18 August</span> <span class=”author clearfix”><span>Host: <strong>John Doe</strong></span></span> <span class=”topic”><a href=”#” title=”Sample link”>Using your human rights</a></span> <a href=”#” title=”Button Signup”><img src=”images/stories/demo/btn-signup.gif” border=”0″ alt=”Button signup” /></a> <a class=”readon” href=”#”>Other events</a></div>
16.Register bar
Module Position: user8

Module Suffix: NOT USED
<div>1224 active users, more than 864 educational articles, online educational services! <a class=”btn-green” href=”#”>Register Now!</a></div>

17.Sitemap
Module Position: user9

Module Suffix: NOT USED
<div class=”ja-innerdiv clearfix”>
<div class=”ja-bottom-links”>
<h4>Life Stories</h4>
<ul>
<li><a href=”#”>Studing Adboard</a></li>
<li><a href=”#”>School Life</a></li>
<li><a href=”#”>University Life</a></li>
</ul>
</div>
<div class=”ja-bottom-links”>
<h4>Students Blogs</h4>
<ul>
<li><a href=”#”>Oxford Prof.</a></li>
<li><a href=”#”>Students United</a></li>
<li><a href=”#”>Summer Experience</a></li>
</ul>
</div>
<div class=”ja-bottom-links”>
<h4>Discussion Board</h4>
<ul>
<li><a href=”#”>Preschool Group</a></li>
<li><a href=”#”>School Talks</a></li>
<li><a href=”#”>University Discussions</a></li>
</ul>
</div>
</div>
18.Custom video layout
Module Position: video

Module Suffix: NOT USED
<div class=”video-heading clearfix”>
<div class=”ja-left-side”>
<div class=”inner”>
<div class=”video-info clearfix”>
<p>Upload by <a href=”#” title=”Sample link”>Blink</a> 6 hours ago.</p>
<ul class=”tags”>
<li><a href=”#” title=”Sample tag”>Education</a></li>
<li><a href=”#” title=”Sample tag”>University</a></li>
<li><a href=”#” title=”Sample tag”>Students life</a></li>
</ul>
</div>
</div>
</div>
<div class=”ja-right-side”>
<div class=”inner”>
<h3 class=”video-title”>Video title here</h3>
<p>Commissioned by the Swiss Zirkel Gallery, “Peripetics” is a striking, six-part visual exploration of computer graphics as art, described by the artists as: “imaginations of disoriented systems that take a catastrophic turn, including the evolution of educational plant-body-machine models and liquid building materials.”</p>
<a class=”readmore”>More Videos</a></div>
</div>
</div>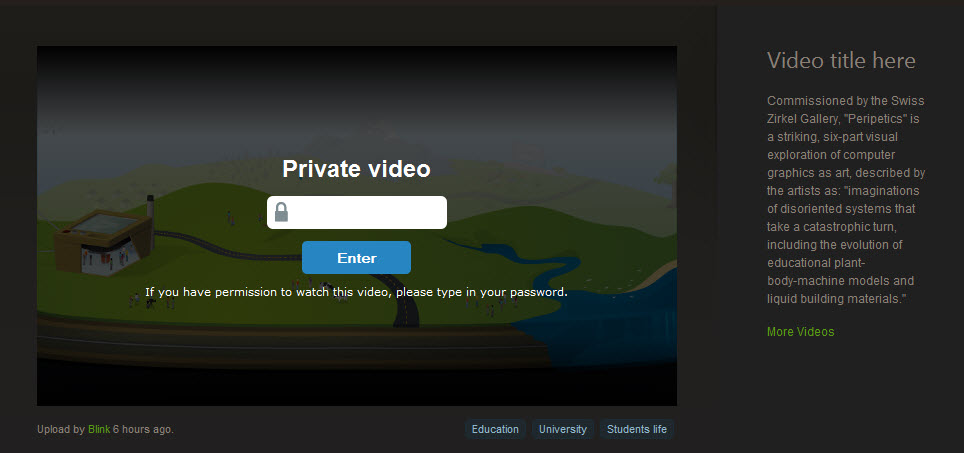
Hung Dinh Friend
Hung Dinh
- Join date:
- September 2014
- Posts:
- 4408
- Downloads:
- 11
- Uploads:
- 189
- Thanks:
- 309
- Thanked:
- 3310 times in 3 posts
March 8, 2011 at 1:52 am #380159Typography Styles – Supported in JA Community Plus :
JA Community Plus comes with multiple typography styles for headings, content, tables, buttons, quotes, lists and so on…
You can view the Typography Page on our Demo website :Typography Page
Here are the HTML codes:
- Basic typography options.txt
- Advanced content styling.txt
- Additional page elements.txt
- Images styling options.txt
- Image possitioning.txt
- Lists and Tabs design.txt
- Form elements.txt
You can use the above HTML codes for making similar page on your website and refer to the codes for using Typography.
IMPORTANT: These typography styles are specific to JA Community Plus template and if you use them in your content and later decide to change the template, the styles will be broken, as these styles depend upon the template based css files (typo.css). We recommend using minimum typography, if you plan to change your template in future.
Hung Dinh Friend
Hung Dinh
- Join date:
- September 2014
- Posts:
- 4408
- Downloads:
- 11
- Uploads:
- 189
- Thanks:
- 309
- Thanked:
- 3310 times in 3 posts
March 8, 2011 at 1:52 am #380160Configurations for K2 items like on our demo
JA Community Plus supports K2 Component with K2 User Page (Blog Layout). K2 is the popular powerful Content Construction Kit component for Joomla! developed by JoomlaWorks.
These instructions are a reference for developers using manual installation, a guide on how to setup K2 Component like on our demo site and the quick-start package.
Please refer to the official documentation on how to install and setup K2
There are three modules of K2 component used in JA Community Plus Demo. Below are the instructions for configuring them
1. mod_k2_content
1.1 Recent articles
Position and suffix code
Module position: ja_tabs

Module suffix: NOT USED
Backend screenshot: LinkFrontend display
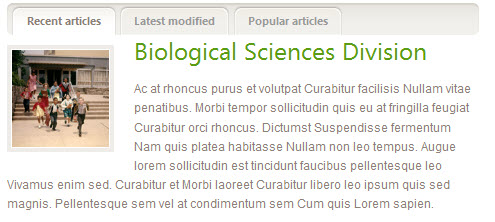
1.2 Latest modified
Position and suffix code
Module position: ja_tabs

Module suffix: NOT USED
Backend screenshot: LinkFrontend display
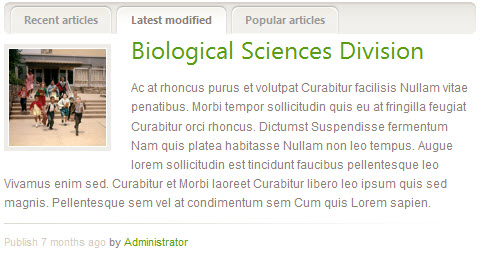
1.3 Popular articles
Position and suffix code
Module position: ja_tabs

Module suffix: NOT USED
Backend screenshot: LinkFrontend display
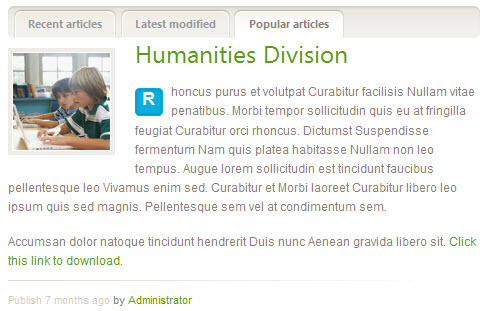
1.4 Hot news
Position and suffix code
Module position: user12

Module suffix: NOT USED
Backend screenshot: LinkFrontend display
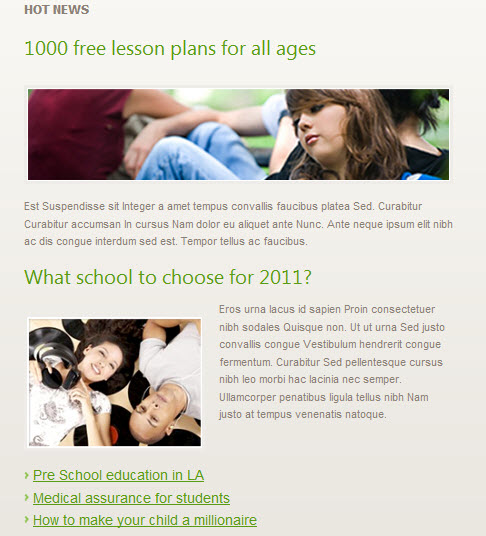
1.5 Editor’s choise
Position and suffix code
Module position: user13

Module suffix: NOT USED
Backend screenshot: LinkFrontend display

1.6 Most viewed
Position and suffix code
Module position: user13

Module suffix: NOT USED
Backend screenshot: LinkFrontend display
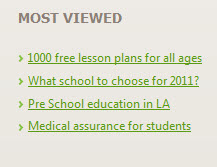
1.7 Latest blog
Position and suffix code
Module position: user4

Module suffix: NOT USED
Backend screenshot: LinkFrontend display

2. mod_k2_tools
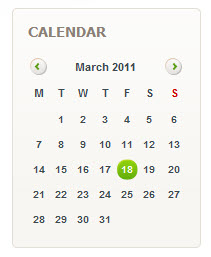
2.1 Calendar
Position and suffix code
Module position: left

Module suffix: NOT USED
Backend screenshot: LinkFrontend display
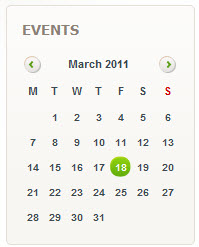
2.2 Events
Position and suffix code
Module position: right

Module suffix: NOT USED
Backend screenshot: LinkFrontend display.
2.3 Blog Archive
Position and suffix code
Module position: right

Module suffix: NOT USED
Backend screenshot: LinkFrontend display.

2.4 Tag Cloud
Position and suffix code
Module position: user7

Module suffix: NOT USED
Backend screenshot: LinkFrontend display.

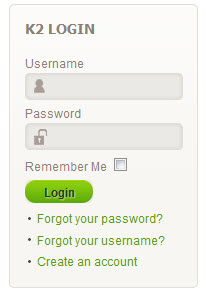
3. mod_k2_login
Position and suffix code
Module position: left

Module suffix: NOT USED
Backend screenshot: LinkFrontend display.
Hung Dinh Friend
Hung Dinh
- Join date:
- September 2014
- Posts:
- 4408
- Downloads:
- 11
- Uploads:
- 189
- Thanks:
- 309
- Thanked:
- 3310 times in 3 posts
March 8, 2011 at 1:53 am #380161Mega Menu Configuration
JA Community Plus Demo template uses Mega Menu. Follow the guide below to create the column dropdown menu.
Front-end appearance

Backend-settings:
Main Menu Items (parent & child)
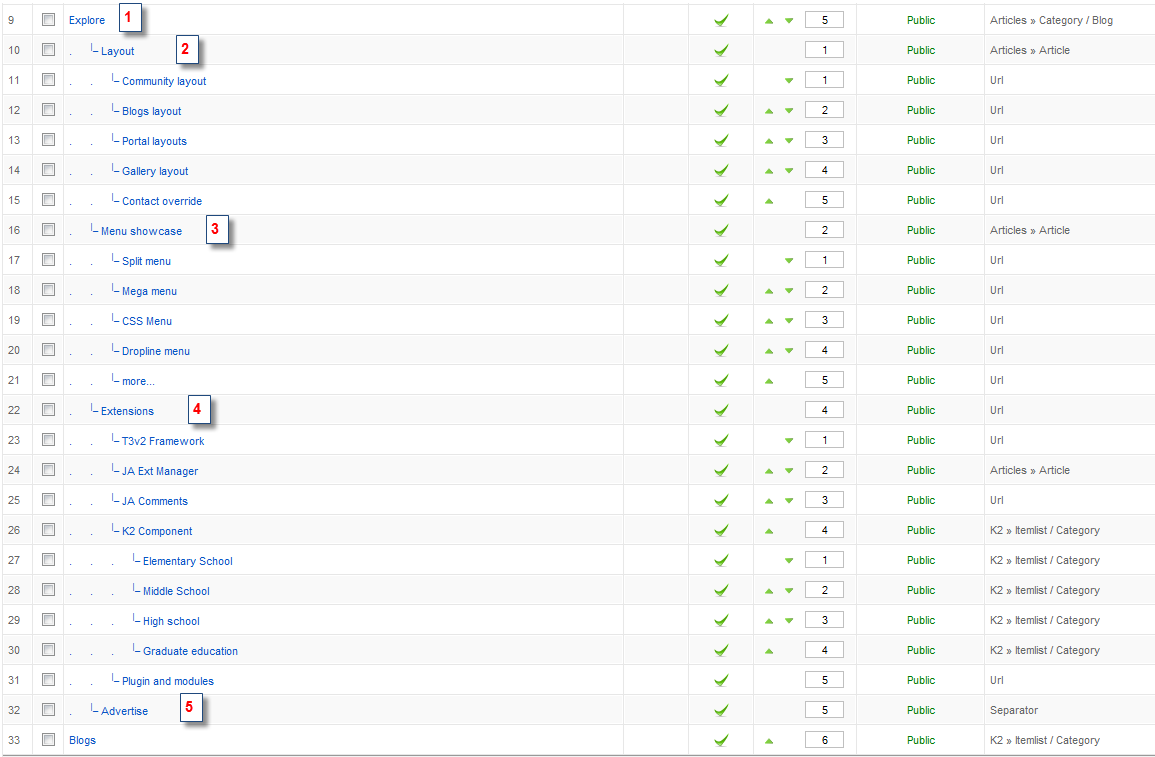
- Item 1: Explore – Menu Backend Settings
- Item 2: Layout – Menu Backend Settings
- Item 3: Menu showcase – Menu Backend Settings
- Item 4: Extensions – Menu Backend Settings
- Item 5: Advertise – Menu Backend Settings
You can find more details on How to Use JA Mega Menu in the Wiki Section.
Hung Dinh Friend
Hung Dinh
- Join date:
- September 2014
- Posts:
- 4408
- Downloads:
- 11
- Uploads:
- 189
- Thanks:
- 309
- Thanked:
- 3310 times in 3 posts
March 8, 2011 at 1:53 am #380162Installing and Configuring K2
1. Installing K2
If you are new to this Joomla! component, please read this guide .
2. Configuring K2 component
2.1 Global Configuration: Click Parameter button on the right
Backend settings2.2 Category ConfigurationAs you can see on our Demo, there are different styles for each page: Start walk and K2 Category use ja_community_plus template while Student blogs uses ja_community_blog (you can find them in Category item layout parameter on the right).
In order to build your website like our demo, navigate to Administrator >> Component >> K2 >> Categories
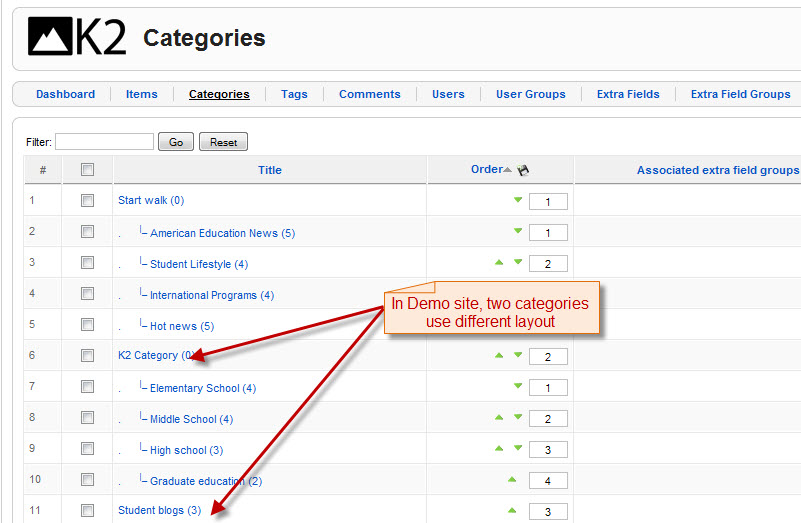
Start walk Category ViewFrontend
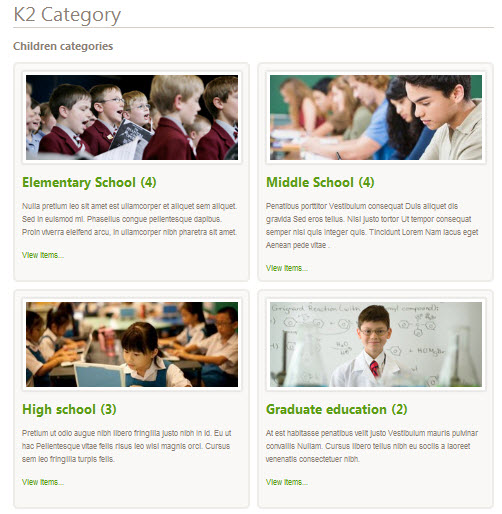
Backend settingsK2 Category Category ViewFrontend
Backend settingsNote: To set column displaying on K2 Category page, you should have enough child categories under K2 Category category.
In demo, we have two columns. To displays these columns, the Columns parameter in Administrator >> Component >> K2 >> Category >> K2 Category>> Columns field in Category view options should be set to 2
Student blogs Category View
FrontendBackend settings2.3 Article Configuration
We use special tags to set image border in our K2 articles, for example:
Start Walk page
<img class=”img-border” src=”your image source” border=”0″ />
Example:
<img class=”img-border” src=”images/stories/demo/sam-45.jpg” border=”0″ />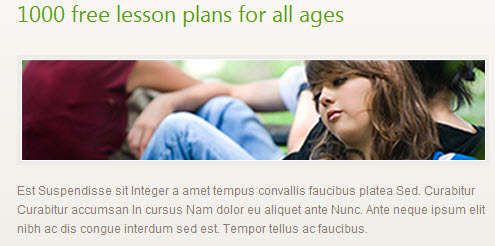
Blogs page<img class=”img-border” src=”your image source” border=”0″ alt=”your image alt” />Example:<img class=”img-border” src=”images/stories/demo/sam-21.jpg” border=”0″ alt=”Sample image” />

K2 Category page<img class=”img_caption left” src=”your image source” border=”0″ alt=”your image alt” />Example:<img class=”img_caption left” src=”images/stories/demo/sam-16.jpg” border=”0″ alt=”sample imgage” />
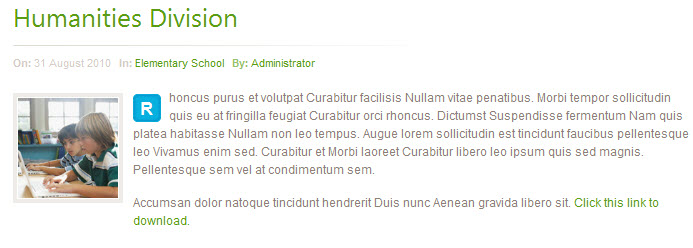
Note: Image is still having border although border is 0 because border is declared in the .css file.
Hung Dinh Friend
Hung Dinh
- Join date:
- September 2014
- Posts:
- 4408
- Downloads:
- 11
- Uploads:
- 189
- Thanks:
- 309
- Thanked:
- 3310 times in 3 posts
March 18, 2011 at 8:10 am #382024The above userguide should help one in replicating the Demo site settings for the template and extension on their site.
Recommended:
If you are new or confused, we recommend installing Quickstart on your localhost and use it as reference for configurations. This is the best way to work with any template.
Links to all the resources are provided above, you should carefully read them to get the maximum advantage out of our products.Support:
Please raise your support queries in the forum and make sure you follow the support guidelines. We spend more time in getting the information from user in case the support guidelines are not followed.
If you have any questions regarding this userguide, please post them in the forum. This thread is locked.
-
AuthorPosts
This topic contains 10 replies, has 1 voice, and was last updated by Hung Dinh 13 years, 10 months ago.
We moved to new unified forum. Please post all new support queries in our New Forum

