-
AuthorPosts
-
Hung Dinh Friend
Hung Dinh
- Join date:
- September 2014
- Posts:
- 4408
- Downloads:
- 11
- Uploads:
- 189
- Thanks:
- 309
- Thanked:
- 3310 times in 3 posts
September 21, 2011 at 9:29 am #1687891. Get to Know Your Template
- Everyone should read the Template’s Overview Article! This is a quick and complete overview of the template, from the colors included, to all of the powerful Joomlart complimentary extensions that come with it. You’ll also find links to the LIVE Demo Site, the Download area, as well as the Forum where you can ask questions.
- Need Help Getting Around Joomlart.com? We’ve created a QUICK ACCESS GUIDE for helping you to become a Joomlart Power User. This is a wonderful reference, full of tips on how to quickly find the template info, demo sites, module position guides and more. We don’t want you to miss a thing!
2. Download Template and Extensions:
Check download folder for the Quickstart, Template zip and other complimentary extensions zip files.

Plan your site Development.
- Making a new website? – If you are planning to make a new website, then use our Quickstart package to clone the demo website and replace the demo content with yours. Check out How to install Quickstart Package guide.
- Installing on your live website? – If you are planning to use this template on your already live website, you should follow How to make your site look like demo site guide first to learn about the steps involved. Then you can follow the userguide below.
The user guide covers the following aspects:
- Installing the Template on your Joomla system
- Installing T3 Framework 2 Plugin
- Installing complimentary / included extensions
- Custom HTML Modules
- Using Template Typography
- K2 Modules setup
- Mega Menu configuration
- K2 Installation / configuration
1 user says Thank You to Hung Dinh for this useful post
Hung Dinh Friend
Hung Dinh
- Join date:
- September 2014
- Posts:
- 4408
- Downloads:
- 11
- Uploads:
- 189
- Thanks:
- 309
- Thanked:
- 3310 times in 3 posts
September 21, 2011 at 9:30 am #4140901. Installing Template on your Joomla
- Browse and Download: Go To Download page of JA Erio and download the Template zip file. Refer to this screenshot for the overview of the download folder.
- Install the Template: Now install the Template on your Joomla 1.5 system. Follow This Guide if you are not familiar with the installation procedure.
Template Configuration :
JA Erio template will install with Settings used on the demo website, so you can postpone the configuration until you complete the setup (install other modules / plugins used in the demo website).
Once you have completed the setup, you can go back to the template backend and check various options for customizing your template. Refer to this Universal T3 V2 Backend Config Guide for options on how to customize your installed template.
Please Note : T3 V2 template configurations are same in Joomla 1.5 and Joomla 1.6, so the above guide link is valid for both versions.Links to resources on T3 V2 Framework templates and advanced configurations :
- Overview
- Developer Guides
- Customization FAQs
- Mega Menu – A missing menu system for Joomla!
- Video Tutorials (valid for Joomla 1.5 and 1.6)
Error? – I see “Missing T3” error on the website frontend?
T3 framework 2 based templates need the T3 Framework Plugin to be installed and enabled.2. Installing T3 Framework 2 Plugin (T3 system plugin)
Download and install the T3 Framework 2 Plugin (aka T3 System plugin), Follow this guide if you are not familiar with the installation procedure. After the plugin is installed, enable it as described in the same guide.
1 user says Thank You to Hung Dinh for this useful post
Hung Dinh Friend
Hung Dinh
- Join date:
- September 2014
- Posts:
- 4408
- Downloads:
- 11
- Uploads:
- 189
- Thanks:
- 309
- Thanked:
- 3310 times in 3 posts
September 21, 2011 at 9:31 am #4140933. Installing complimentary / included extensions and Demo configurations :
- Free Extensions: (aka complimentary / included extensions). We use many extensions in our demo site to provide greater flexibility and features. These are provided for free to our members.
- Custom HTML Module: To match the design of the template, we also style (CSS) Custom HTML modules using different div classes. You will need to check the HTML codes and make sure to use the recommended HTML markup to get the correct display. We provide the HTML code in this userguide.
- 3rd Party Extensions: This template uses custom styles for K2 Component. You will need to download K2 from the developers website and install it referring to the userguide below.
Know your Module Positions :
- View Module Position Image (used positions only).
- Use Module Position Overlay in Template (used & empty module positions).
TIP: Read more about Checking and Finding Module Positions in T3 Templates.
Installing and Configuring Included Extensions:
List of modules / plugins used in JA ErioTemplate Demo:
- JA SlideShow II Module
- JA Tabs Module
- JA Contenslider Module
- JA Bulletin Module
- JA SideNews Module
- JA Tabs Plugin
- JA Typo Plugin
IMPORTANT: We provide screenshots of the settings from our demo website. Make sure you configure your modules / plugins in the same manner in order to achieve demo site alike style / functions.1 user says Thank You to Hung Dinh for this useful post
Hung Dinh Friend
Hung Dinh
- Join date:
- September 2014
- Posts:
- 4408
- Downloads:
- 11
- Uploads:
- 189
- Thanks:
- 309
- Thanked:
- 3310 times in 3 posts
September 21, 2011 at 9:33 am #414107Configurations for Modules / Plugins as used in Demo Site.
1. JA SlideShow II Module.Module Position: slideshow
Module Suffix: NOT USED
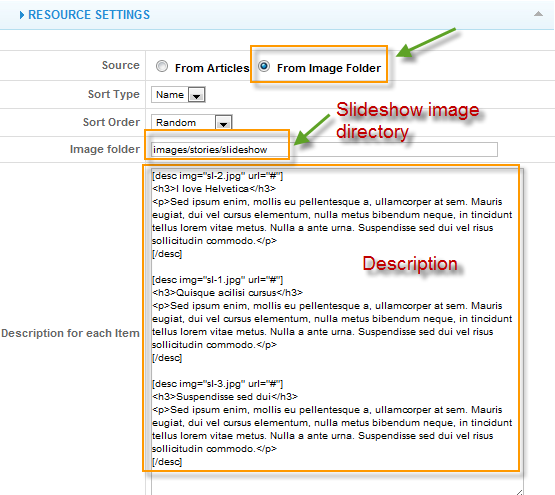
Backend Settings for Slideshow II Module as in demo.Note: As you can see in the image above, the slideshow’s source is set to From Image Folder, whereas images are taken from the images/stories/slideshow folder
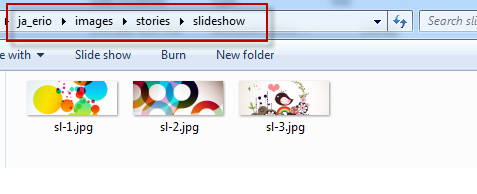
Create slideshow image directory
Go to: yoursiteimagesstories folder, create the slideshow directory and then copy images that will be used for the slideshow in there.Dimensions of the Slideshow images should be 940×360 pixels
Front-end appearance

IMPORTANT: Please note that we use the JA Slideshow module in over 25+ templates with different backend settings. It is not possible to optimize all the backend options for each template, so if some of the backend settings do not work in JA Erio, it is not a bug.
2. JA Tabs Module
Module Position: right

Module Suffix: _jatabs
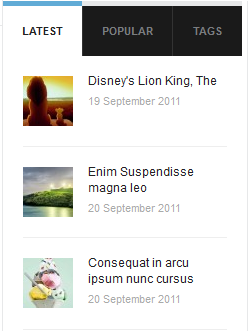
Backend Settings for this module as in demo.Front-end appearance
3. JA Contenslider Module
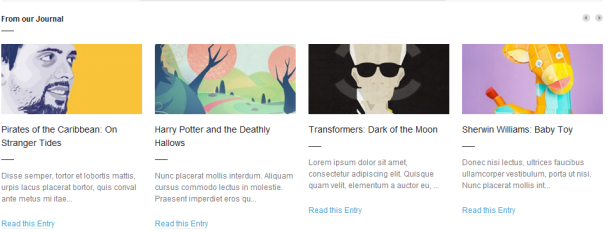
On our demo, we name this module as From our Journal
Module Position: contentslider

Module Suffix: NOT USED
Backend Settings for this module as in DemoFront-end appearance
4. JA Bulletin Module
There are two Bulletin modules used in the Demo site: Popular and Latest. The Popular uses Most read type, whereas Latest uses Latest News type
4.1 Popular
Module Position: ja-tabs

Module Suffix: NOT USED
Backend Settings for this module as in DemoFront-end appearance
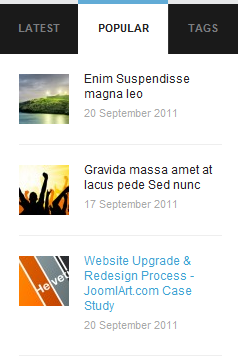
4.2 Latest
Module Position: ja-tabs

Module Suffix: NOT USED
Backend Settings for this module as in DemoFront-end appearance
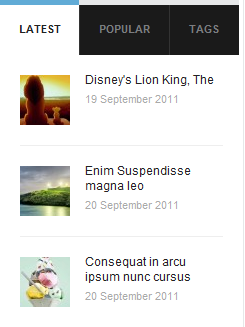
5. JA SideNews ModuleOn our demo, we name this module as Blog Article
Module Position: right

Module Suffix: NOT USED
Backend Settings for this module as in DemoFront-end appearance
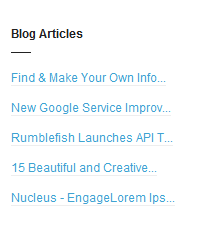
7. JA Tabs PluginBackend Settings for this plugin as in Demo
Front-end appearance

1 user says Thank You to Hung Dinh for this useful post
Hung Dinh Friend
Hung Dinh
- Join date:
- September 2014
- Posts:
- 4408
- Downloads:
- 11
- Uploads:
- 189
- Thanks:
- 309
- Thanked:
- 3310 times in 3 posts
September 21, 2011 at 9:34 am #414204Custom HTML Modules
We use total of 44 Custom HTML Modules in JA Erio Template.
If you are not sure how to use Custom HTML Modules or how to access the HTML Editor please Read this Guide.
We will provide you with the HTML Code (markup) for reference below, you will need to replicate it exactly and then change your content. Remember, HTML code has special div classes, which are required for demo alike display.
1. Demo Notice Block
Module Position: content-mass-bottom

Module Suffix: _demonotice
<p>Disse semper, tortor et lobortis mattis, urpis lacus placerat bortor, quis conval ante metus mi itae quam lorem mi itae. <a href=”#”>More</a></p>
Backend Settings for Demo Notice Block module as in demo.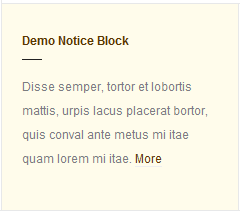
2. Grid, Clean & Minimalistic
Module Position: content-mass-bottom

Module Suffix: _gridclean
<p>Lorem ipsum dolor sit amet, consectetur adipiscing elit. Quisque quam velit, elementum a auctor eu, luctus sit amet diam. <a href=”#”>More</a></p>
Backend Settings for Grid, Clean & Minimalistic module as in demo.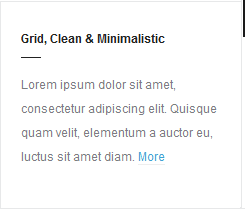
3. Demo Notice Block
Module Position: left

Module Suffix: _demonotice
<p>Disse semper, tortor et lobortis mattis, urpis lacus placerat bortor, quis conval ante metus mi itae quam lorem mi itae. <a href=”#”>More</a></p>
Backend Settings for Demo Notice Block module as in demo.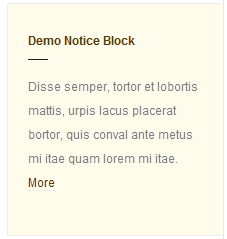
4. Grid, Clean & Minimalistic
Module Position: left

Module Suffix: _gridclean
<p>Lorem ipsum dolor sit amet, consectetur adipiscing elit. Quisque quam velit, elementum a auctor eu, luctus sit amet diam. <a href=”#”>More</a></p>
Backend Settings for Grid, Clean & Minimalistic module as in demo.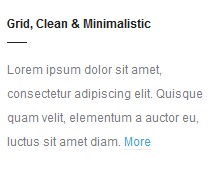
5. Left Position
Module Position: left

Module Suffix: _gridclean
<p>Lorem ipsum dolor sit amet, consectetur adipiscing elit. Quisque quam velit, elementum a auctor eu, luctus sit amet diam. <a href=”#”>More</a></p>
Backend Settings for Left Position module as in demo.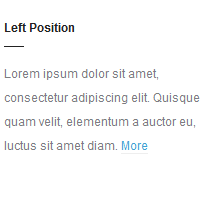
6. Left Position: class suffix “_demonotice”
Module Position: left

Module Suffix: _demonotice
<p>Disse semper, tortor et lobortis mattis, urpis lacus placerat bortor, quis conval ante metus mi itae quam lorem mi itae. <a href=”#”>More</a></p>
Backend Settings for Left Position: class suffix “_demonotice” module as in demo.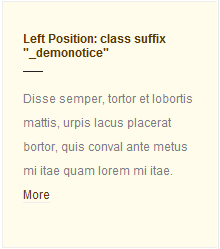
7. Right Position
Module Position: right

Module Suffix: NOT USED
<p>Metus sem Vestibulum Morbi mauris adipiscing nec semper accumsan Morbi eros. Neque Vestibulum neque tincidunt convallis tempus vitae Nulla urna semper feugiat.</p>
Backend Settings for Right position module as in demo.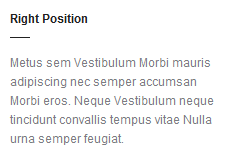
8. About Erio!
Module Position: right

Module Suffix: NOT USED
<p>Ta-ta-tada! We opened our brand new Drupal Theme club! This and more themes are available. <a href=”#” target=”_self” title=”About”>More</a></p>
Backend Settings for About Erio module as in demo.
9. Minimalistic theme Features
Module Position: right

Module Suffix: badge-hot
<p><img src=”images/stories/demo/sam-60.jpg” border=”0″ alt=”Sample image” width=”200″ height=”100″ /></p>
<h3>Sky High</h3>
<p>Donec sed odio dui. Nulla vitae elit libero, a pharetra augue. <a href=”#” target=”_self”>More</a></p>
Backend Settings for Minimalistic theme Features module as in demo.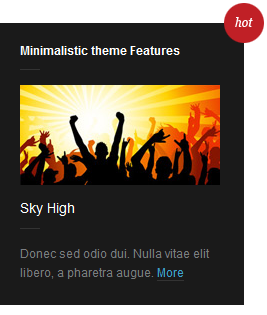
10. Right Position: class suffix: “badge-hot”
Module Position: right

Module Suffix:  badge-hot
<p>Disse semper, tortor et lobortis mattis, urpis lacus placerat bortor, quis conval ante metus mi itae quam lorem.</p>
Backend Settings for Right Position: class suffix: “badge-hot” module as in demo.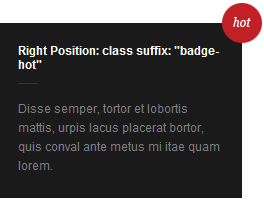
11. Sub right header menu
Module Position: subrightheadmenu

Module Suffix: NOT USED
<ul>
<li><a href=”#”>Our Gallery</a></li>
<li><a href=”#”>Our Videos</a></li>
<li><a href=”#”>Contact Us</a></li>
<li class=”last”><a class=”ico-social ico-rsss” href=”#” title=”RSS”><span>RSS</span></a><a class=”ico-social ico-facebooks” href=”#” title=”Facebook”><span>Facebook</span></a><a class=”ico-social ico-twitters” href=”#” title=”Twitter”><span>Twitter</span></a></li>
</ul>
Backend Settings for Sub right header menu module as in demo.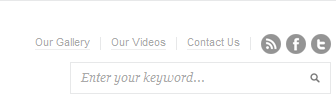
12. Blogs
Module Position: topbanner

Module Suffix: NOT USED
<h3><span>Blogs</span></h3>
<p><img src=”images/stories/demo/bl-title.jpg” border=”0″ alt=”Sample photo” title=”Sample photo” /></p>
Backend Settings for Blogs module as in demo.
13. K2 Categories
Module Position: topbanner

Module Suffix: NOT USED
<h3><span>K2 Categories</span></h3>
<p><img src=”images/stories/demo/k-title.jpg” border=”0″ alt=”Sample photo” title=”Sample photo” /></p>
Backend Settings for K2 Categories module as in demo.
14. Joomla
Module Position: topbanner

Module Suffix: NOT USED
<h3><span>Joomla</span></h3>
<p><img src=”images/stories/demo/k-title.jpg” border=”0″ alt=”Sample photo” title=”Sample photo” /></p>
Backend Settings for Joomla module as in demo.
15. Drupal
Module Position: topbanner

Module Suffix: NOT USED
<h3><span>Drupal</span></h3>
<p><img src=”images/stories/demo/k-title.jpg” border=”0″ alt=”Sample photo” title=”Sample photo” /></p>
Backend Settings for Drupal module as in demo.
16. Magento
Module Position: topbanner

Module Suffix: NOT USED
<h3><span>Magento</span></h3>
<p><img src=”images/stories/demo/k-title.jpg” border=”0″ alt=”Sample photo” title=”Sample photo” /></p>
Backend Settings for Magento module as in demo.
17. WordPress
Module Position: topbanner

Module Suffix: NOT USED
<h3><span>Wordpress</span></h3>
<p><img src=”images/stories/demo/k-title.jpg” border=”0″ alt=”Sample photo” title=”Sample photo” /></p>
Backend Settings for WordPress module as in demo.
18. User page (blog)
Module Position: topbanner

Module Suffix: NOT USED
<h3><span>User page (blog)</span></h3>
<p><img src=”images/stories/demo/k-title.jpg” border=”0″ alt=”Sample photo” title=”Sample photo” /></p>
Backend Settings for User page (blog) module as in demo.
19. Item
Module Position: topbanner

Module Suffix: NOT USED
<h3><span>Item</span></h3>
<p><img src=”images/stories/demo/k-title.jpg” border=”0″ alt=”Sample photo” title=”Sample photo” /></p>
Backend Settings for Item module as in demo.
20. Tags
Module Position: topbanner

Module Suffix: NOT USED
<h3><span>Tags</span></h3>
<p><img src=”images/stories/demo/k-title.jpg” border=”0″ alt=”Sample photo” title=”Sample photo” /></p>
Backend Settings for Tags module as in demo.
21. From our Journal
Module Position: topbanner

Module Suffix: NOT USED
<h3><span> From our Journal </span></h3>
<p><img src=”images/stories/demo/k-title.jpg” border=”0″ alt=”Sample photo” title=”Sample photo” /></p>
Backend Settings for From our Journal module as in demo.
22. Top title: positions layout
Module Position: topbanner

Module Suffix: NOT USED
<h3><span> Top title: positions layout</span></h3>
<p><img src=”images/stories/demo/k-title.jpg” border=”0″ alt=”Sample photo” title=”Sample photo” /></p>
Backend Settings for module as in demo.
23. User 1
Module Position: user1

Module Suffix: NOT USED
<p>Metus sem Vestibulum Morbi mauris adipiscing nec semper accumsan Morbi eros. Neque Vestibulum neque tincidunt convallis tempus vitae Nulla urna semper feugiat.</p>
Backend Settings for User 1 module as in demo.
24. User 2
Module Position: user2

Module Suffix: NOT USED
<p>Metus sem Vestibulum Morbi mauris adipiscing nec semper accumsan Morbi eros. Neque Vestibulum neque tincidunt convallis tempus vitae Nulla urna semper feugiat.</p>
Backend Settings for User 2 module as in demo.
25. User 3
Module Position: user3

Module Suffix: NOT USED
<p>Metus sem Vestibulum Morbi mauris adipiscing nec semper accumsan Morbi eros. Neque Vestibulum neque tincidunt convallis tempus vitae Nulla urna semper feugiat.</p>
Backend Settings for User 3 module as in demo.
26. User 4
Module Position: user4

Module Suffix: NOT USED
<p>Metus sem Vestibulum Morbi mauris adipiscing nec semper accumsan Morbi eros. Neque Vestibulum neque tincidunt convallis tempus vitae Nulla urna semper feugiat.</p>
Backend Settings for User 4 module as in demo.
27. User 5
Module Position: user5

Module Suffix: NOT USED
<p>Metus sem Vestibulum Morbi mauris adipiscing nec semper accumsan Morbi eros. Neque Vestibulum neque tincidunt convallis tempus vitae Nulla urna semper feugiat.</p>
Backend Settings for User 5 module as in demo.
28. User 6
Module Position: user6

Module Suffix: NOT USED
<p>Metus sem Vestibulum Morbi mauris adipiscing nec semper accumsan Morbi eros. Neque Vestibulum neque tincidunt convallis tempus vitae Nulla urna semper feugiat.</p>
Backend Settings for User 6 module as in demo.
29. User 7
Module Position: user7

Module Suffix: NOT USED
<p>Metus sem Vestibulum Morbi mauris adipiscing nec semper accumsan Morbi eros. Neque Vestibulum neque tincidunt convallis tempus vitae Nulla urna semper feugiat.</p>
Backend Settings for User 7 module as in demo.
30. User 8
Module Position: user8

Module Suffix: NOT USED
<p>Metus sem Vestibulum Morbi mauris adipiscing nec semper accumsan Morbi eros. Neque Vestibulum neque tincidunt convallis tempus vitae Nulla urna semper feugiat.</p>
Backend Settings for User 8 module as in demo.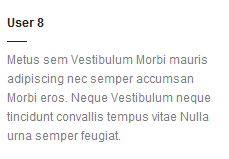
31. User 9
Module Position: user9

Module Suffix: NOT USED
<p><strong>User 9:</strong> Disse semper, tortor et lobortis mattis, urpis lacus placerat bortor, quis conval ante metus mi itae quam lorem.</p>
Backend Settings for User 9 module as in demo.
32. User 10 – Class suffix “_highlight”
Module Position: user10

Module Suffix: _highlight
<p>Metus sem Vestibulum Morbi mauris adipiscing nec semper accumsan Morbi eros.</p>
Backend Settings for User 10 – Class suffix “_highlight” module as in demo.<img src="http://joomlart.33. User 11
Module Position: user11

Module Suffix: _featured
<p>Lorem ipsum dolor sit amet, consectetur adipiscing elit. Quisque quam velit, elementum a auctor eu</p>
Backend Settings for User 11 module as in demo.http://static.joomlart.com/images/templates/ja_erio/j15/user11_front.png“>
34. User 12
Module Position: user12

Module Suffix: NOT USED
<p>Disse semper, tortor et lobortis mattis, urpis lacus placerat bortor, quis conval ante metus mi itae…</p>
Backend Settings for User 12 module as in demo.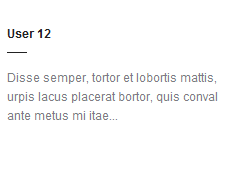
35. User 13
Module Position: user13

Module Suffix: NOT USED
<p>Metus sem Vestibulum Morbi mauris adipiscing nec semper accumsan Morbi eros. Neque Vestibulum neque tincidunt convallis tempus vitae Nulla urna semper feugiat.</p>
Backend Settings for User 13 module as in demo.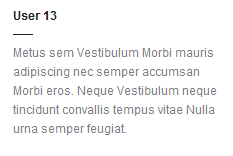
36. User 14
Module Position: user14

Module Suffix: NOT USED
<p>Metus sem Vestibulum Morbi mauris adipiscing nec semper accumsan Morbi eros. Neque Vestibulum neque tincidunt convallis tempus vitae Nulla urna semper feugiat.</p>
Backend Settings for User 14 module as in demo.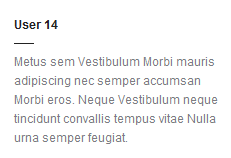
37. User 15
Module Position: user15

Module Suffix: NOT USED
<p>Metus sem Vestibulum Morbi mauris adipiscing nec semper accumsan Morbi eros. Neque Vestibulum neque tincidunt convallis tempus vitae Nulla urna semper feugiat.</p>
Backend Settings for User 15 module as in demo.
38. User 16
Module Position: user16

Module Suffix: NOT USED
<p>Metus sem Vestibulum Morbi mauris adipiscing nec semper accumsan Morbi eros. Neque Vestibulum neque tincidunt convallis tempus vitae Nulla urna semper feugiat.</p>
Backend Settings for User 16 module as in demo.
39. Erio!
Module Position: user9

Module Suffix: NOT USED
<p>Disse semper, tortor et lobortis mattis, urpis lacus placerat bortor, quis conval ante metus mi itae quam lorem.</p>
Backend Settings for Erio! module as in demo.
40. Recent Works
Module Position: user12

Module Suffix: NOT USED
<div class=”ja-photo-thumb”>{japopup type=”image” content=”images/stories/gallery/gl1.jpg” width=”300″ height=”300″ title=”Sample image” }<img src=”images/stories/gallery/gl1-thumb.jpg” border=”0″ alt=”Sample image” width=”107″ height=”107″ /> <span>CSS</span>{/japopup} {japopup type=”image” content=”images/stories/gallery/gl2.jpg” width=”300″ height=”300″ title=”Sample image” }<img class=”last” src=”images/stories/gallery/gl2-thumb.jpg” border=”0″ alt=”Sample image” width=”107″ height=”107″ /> <span>Graphic</span>{/japopup} {japopup type=”image” content=”images/stories/gallery/gl3.jpg” width=”300″ height=”300″ title=”Sample image”}<img src=”images/stories/gallery/gl3-thumb.jpg” border=”0″ alt=”Sample image” width=”107″ height=”107″ /> <span>Brand</span>{/japopup} {japopup type=”image” content=”images/stories/gallery/gl4.jpg” width=”300″ height=”300″ title=”Sample image”}<img class=”last” src=”images/stories/gallery/gl4-thumb.jpg” border=”0″ alt=”Sample image” width=”107″ height=”107″ /> <span>Graphic</span>{/japopup}</div>
Backend Settings for Recent work module as in demo.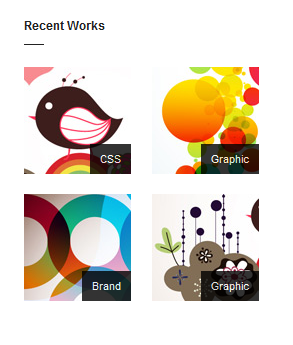
41. Minimalistic theme Features
Module Position: user11

Module Suffix: _featured
<p>Learn more about the Minimalistic theme Features</p>
<ul>
<li><a href=”#” target=”_self”>Update notifications</a></li>
<li><a href=”#” target=”_self”>File verification</a></li>
<li><a href=”#” target=”_self”>New Drupal Overrides</a></li>
<li><a href=”#” target=”_self”>Ajax Search</a></li>
<li><a href=”#” target=”_self”>CSS/JS/Image Compression</a></li>
<li><a href=”#” target=”_self”>Mootools 1.2 ready</a></li>
<li><a href=”#” target=”_self”>Color Presets</a></li>
<li><a href=”#” target=”_self”>Powerfull Menu System</a></li>
<li><a href=”#” target=”_self”>And much more…</a></li>
</ul>
Backend Settings for Minimalistic theme Features module as in demo.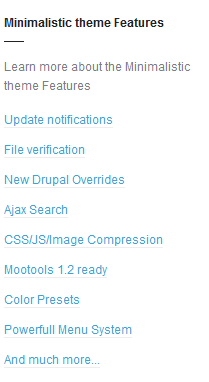
42. Connect With Me
Module Position: user10

Module Suffix: NOT USED
<p>Subscribe to all rss or just section you<br />care..</p>
<p class=”listicons”><a class=”ico-social ico-rss” href=”#” title=”RSS”><span>RSS</span></a><a class=”ico-social ico-facebook” href=”#” title=”Facebook”><span>Facebook</span></a><a class=”ico-social ico-twitter” href=”#” title=”Twitter”><span>Twitter</span></a><a class=”ico-social ico-flickr” href=”#” title=”Flickr”><span>Flickr</span></a><a class=”ico-social ico-vimeo” href=”#” title=”Vimeo”><span>Vimeo</span></a></p>
Backend Settings for Connect With Me module as in demo.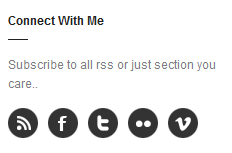
43. Highlight
Module Position: user10

Module Suffix: _highlight
<p>Disse semper, tortor et lobortis mattis, urpis lacus. <a href=”#” target=”_self”>More</a></p>
Backend Settings for Highlight module as in demo.
44. On the Subject of Me
Module Position: user10

Module Suffix: _subject
<p>Minis is a Webdesigner & Photographer living and working in sunny London, United Kingdom. <a href=”#” target=”_self”>More</a></p>
Backend Settings for On the Subject of Me module as in demo.
1 user says Thank You to Hung Dinh for this useful post
Hung Dinh Friend
Hung Dinh
- Join date:
- September 2014
- Posts:
- 4408
- Downloads:
- 11
- Uploads:
- 189
- Thanks:
- 309
- Thanked:
- 3310 times in 3 posts
September 21, 2011 at 9:35 am #414269Typography Styles – Supported in JA Erio Template :
JA Erio comes with multiple typography styles for headings, content, tables, buttons, quotes, lists and so on…
You can view the Typography Page on the Demo site: Typography Page
Here is the HTML code: Click here
You can use the above HTML code to make a similar page on your website and refer to the codes for using Typography.
IMPORTANT : These typography styles are specific to JA Erio template and if you use them in your content and later decide to change the template, the styles will be broken, as these styles depend upon the template based css files (typo.css). We recommend using minimum typography, if you plan to change your template in future.
1 user says Thank You to Hung Dinh for this useful post
Hung Dinh Friend
Hung Dinh
- Join date:
- September 2014
- Posts:
- 4408
- Downloads:
- 11
- Uploads:
- 189
- Thanks:
- 309
- Thanked:
- 3310 times in 3 posts
September 21, 2011 at 9:36 am #414275Configurations for K2 Modules as in Demo
These instructions are a reference for developers using manual installation, a guide on how to setup K2 Component like on the demo website and the quick-start package.
Please refer to the official documentation on how to install and setup K2.
There are 3 modules of K2 component being used in JA Erio. Below are the instructions for configuring them.
1. K2 Content
Module Position: right

Module Suffix: NOT USED
Backend Settings for this module as in DemoFrontend appearance

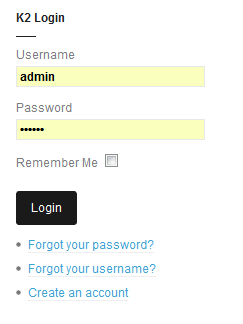
2. K2 LoginModule Position: right
Module Suffix: NOT USED
Backend Settings for this module as in DemoFront-end appearance
3.K2 tools
Module Position: right

Module Suffix: NOT USED
Backend Settings for this module as in Demo
Front-end appearance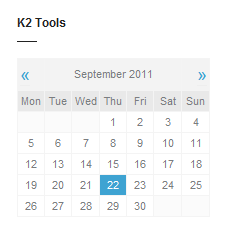
4.K2 Users
Module Position: right

Module Suffix: NOT USED
Backend Settings for this module as in Demo
Front-end appearance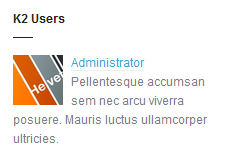
5.K2 Tool – Tag
Module Position: ja-tabs

Module Suffix: NOT USED
Backend Settings for this module as in Demo
Front-end appearance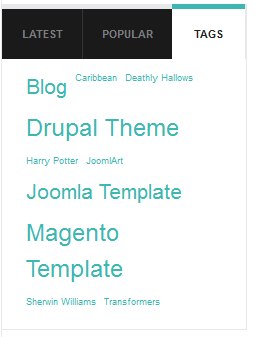
1 user says Thank You to Hung Dinh for this useful post
Hung Dinh Friend
Hung Dinh
- Join date:
- September 2014
- Posts:
- 4408
- Downloads:
- 11
- Uploads:
- 189
- Thanks:
- 309
- Thanked:
- 3310 times in 3 posts
September 21, 2011 at 9:37 am #415215Installing and Configuring K2
1. Installing K2
If you are new to this Joomla! component, please read this guide first.
2. Configuring K2 component2.1 Global Configuration: Click Parameter button on the right
2.2 Category Configuration
To build your site like our demo, navigate to Administrator >> Component >> K2 >> Categories
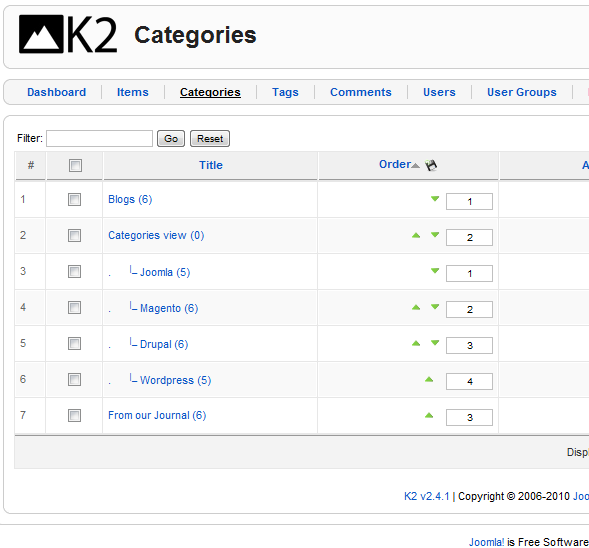
Categories view
Front-end in DemoBackend settings
- Category item layout
- Category view options
- Item image options
- Item view options in category listings
- Item view options
Note: To set column displaying on K2 Showcase page, you should have enough child categories under Category view category
On our demo, we have 4 child categories: Joomla, Magento, Drupal, WordPress
To displays these in four columns, the Columns parameter in Administrator >> Component >> K2 >> Category >> Category View >> Category view options should be set to 2
1 user says Thank You to Hung Dinh for this useful post
Hung Dinh Friend
Hung Dinh
- Join date:
- September 2014
- Posts:
- 4408
- Downloads:
- 11
- Uploads:
- 189
- Thanks:
- 309
- Thanked:
- 3310 times in 3 posts
September 21, 2011 at 9:38 am #414307Mega Menu Configs
JA Erio site uses Mega Menu. Follow the guide below to create the 2 column dropdown menu.
Frontend Appearance :
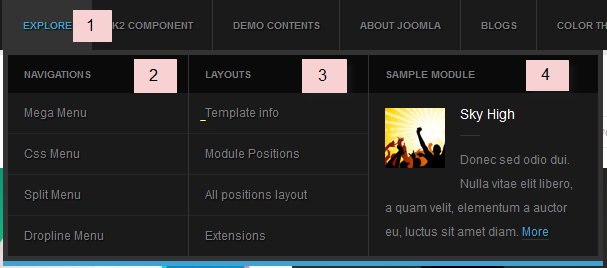
Backend Settings : Main Menu Items (parent & child)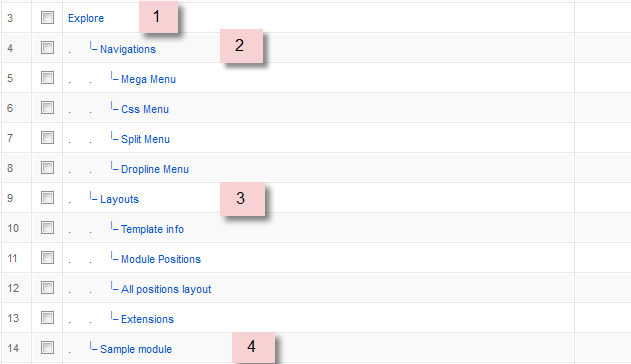
- Item 1 – Explore – Menu Backend Settings
- Item 2 – Navigations – Menu Backend Settings
- Item 3 – Layouts – Menu Backend Settings
- Item 4 – Sample module – Menu Backend Settings
Frontend Appearance :
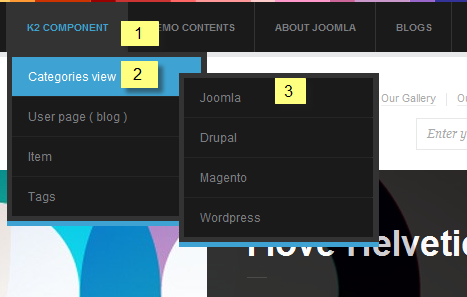
Backend Settings : Main Menu Items (parent & child)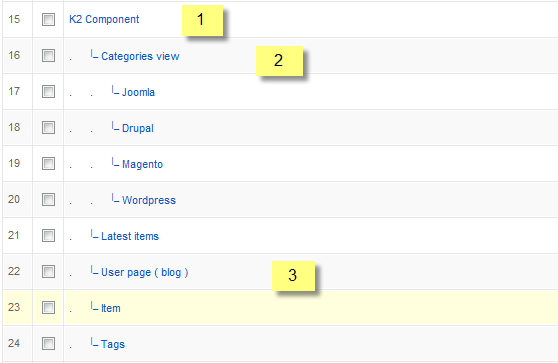
- Item 1 – K2 Component – Menu Backend Settings
- Item 2 – Categories view – Menu Backend Settings
- Item 3 – User page ( blog ) – Menu Backend Settings
One can find more details on How to Use JA Mega Menu in the Wiki Section.
1 user says Thank You to Hung Dinh for this useful post
Hung Dinh Friend
Hung Dinh
- Join date:
- September 2014
- Posts:
- 4408
- Downloads:
- 11
- Uploads:
- 189
- Thanks:
- 309
- Thanked:
- 3310 times in 3 posts
September 21, 2011 at 9:40 am #415217The above userguide should help one in replicating the Demo site settings for the template and extension on their website.
Recommended:
If you are new or confused: We recommend installing Quickstart on your localhost and use it as reference for configurations. This is the best way to work with any template.
Links to all the resources are provided above, you should carefully read them to take the maximum advantage of our products.Support :
Please raise your support queries in the forum and make sure you follow the support guidelines. We spend more time in getting the information from user in case the support guidelines are not followed.
If you have any questions regarding this userguide, please post a question in the forum. This thread is locked.
1 user says Thank You to Hung Dinh for this useful post
-
AuthorPosts
This topic contains 10 replies, has 1 voice, and was last updated by Hung Dinh 13 years, 4 months ago.
We moved to new unified forum. Please post all new support queries in our New Forum

